Well, let’s face it. Earphones are always a mess in our purses and tangle up badly when we most need them. Don’t you worry anymore! We have a perfect yet simple pattern to solve the issue – the elegant earphone case.
The pattern draws inspiration from our very own cluster around placement sets with a little twerk. The best part of the pattern is it does not require much yarn. In fact, scrap yarns work best for this design. This is so simple that you could make a couple of these in one sitting. You can make a few and keep them handy in case you need some quick presents for someone. It is a perfect compliment for the guests or your friends who come home for tea or dinner. You could even do this while watching television after dinner.
The construction
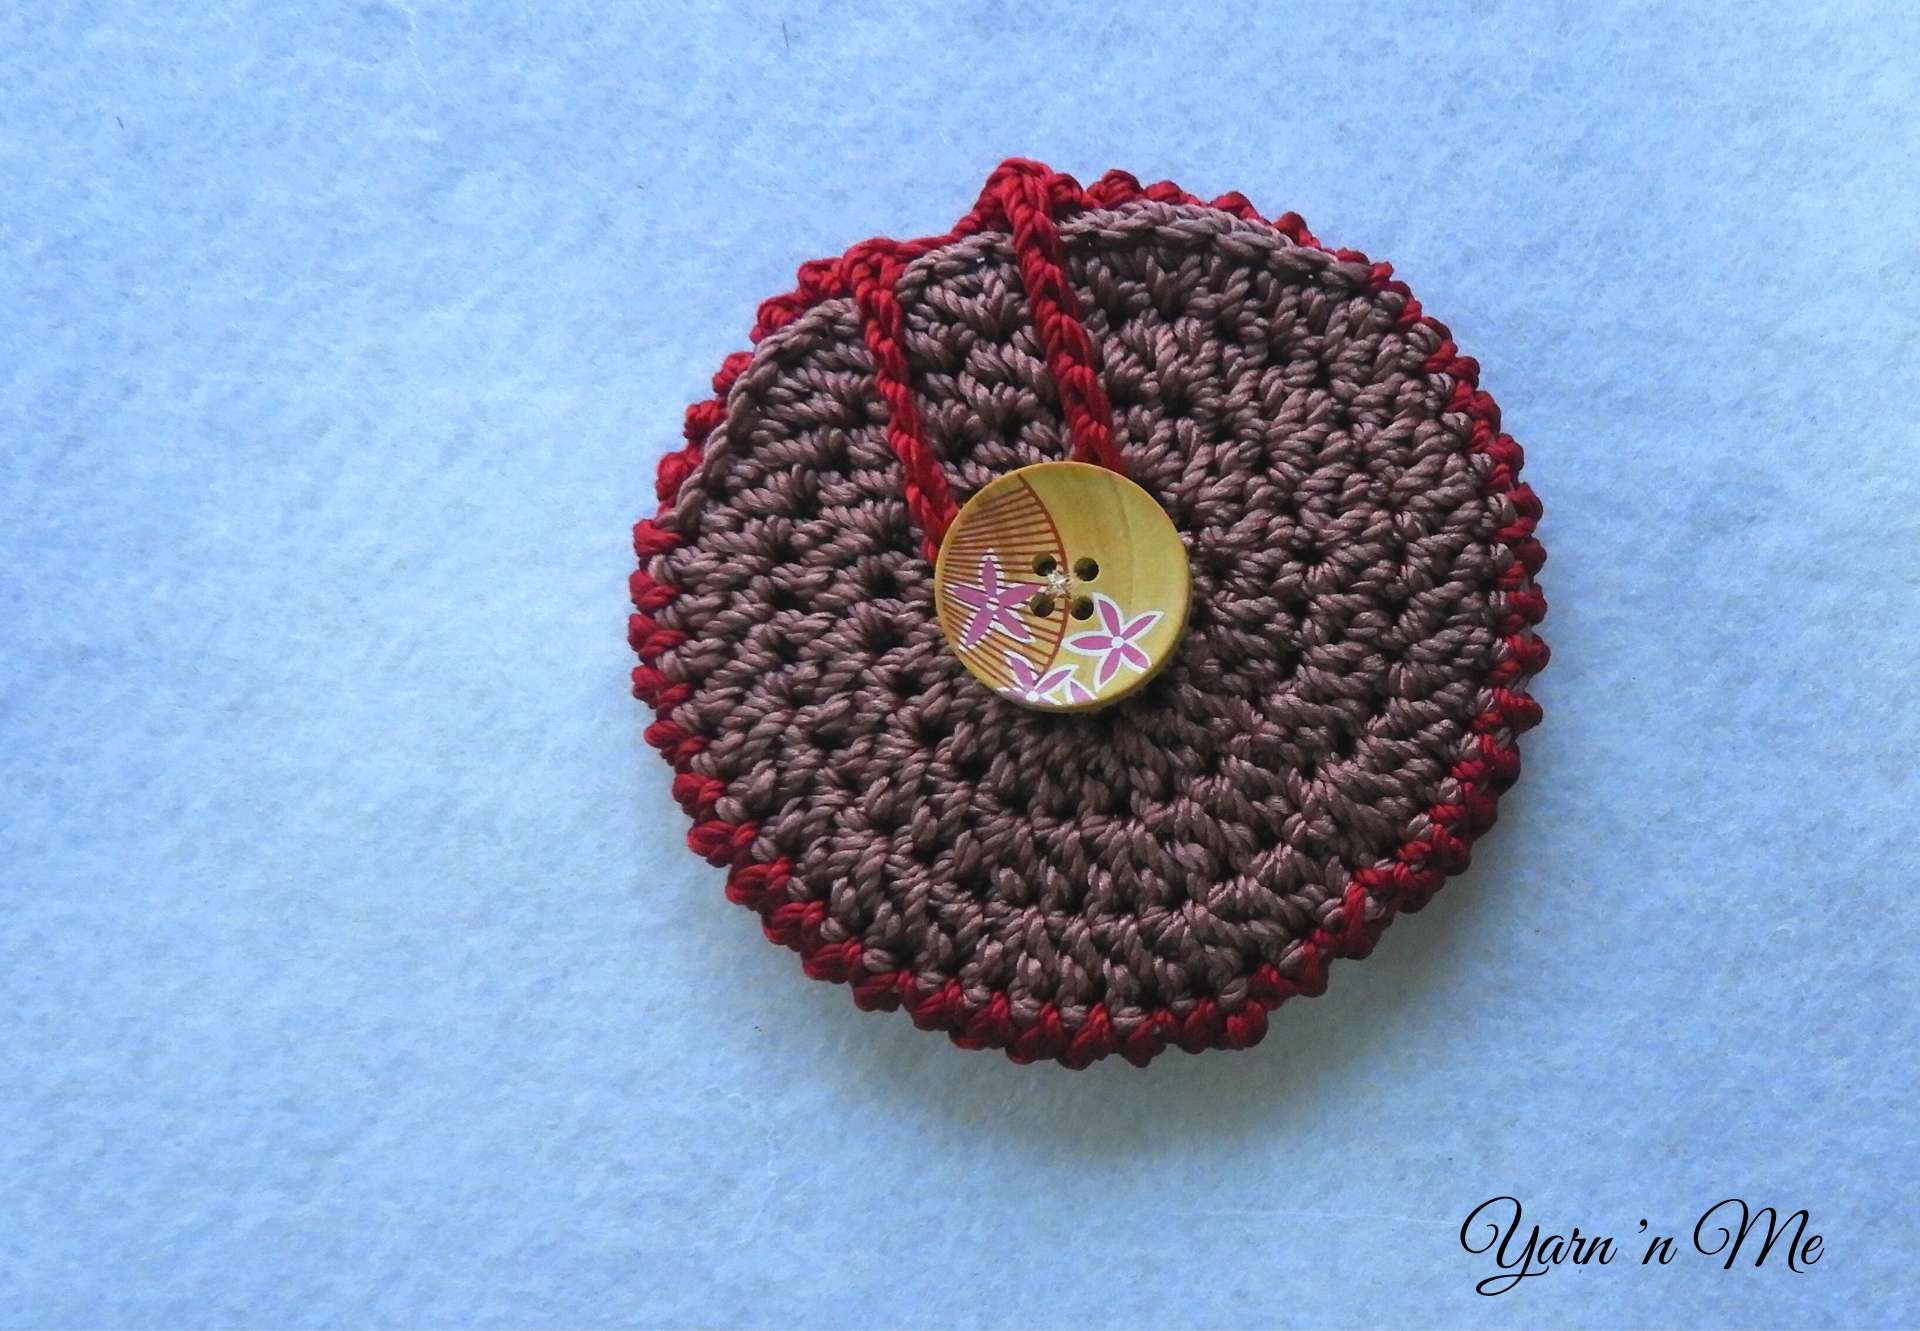
The earphone case is made in two pieces which are then joined leaving an opening. The front piece is constructed using single crochet and 3dc-cluster and the rear piece using half double crochet. The two pieces are then joined using reverse single crochet stitches otherwise called crab stitch.
Materials
Yarn: Any dk weight yarn can be used. Two colours of approximately 30m each. (colour A and colour B)
Hook: 3mm
¾’’ or 1’’ round button
Sewing thread and needle. Thread should either match colour B or the button
Tapestry needle to weave in the ends.
Stitch markers may come in need
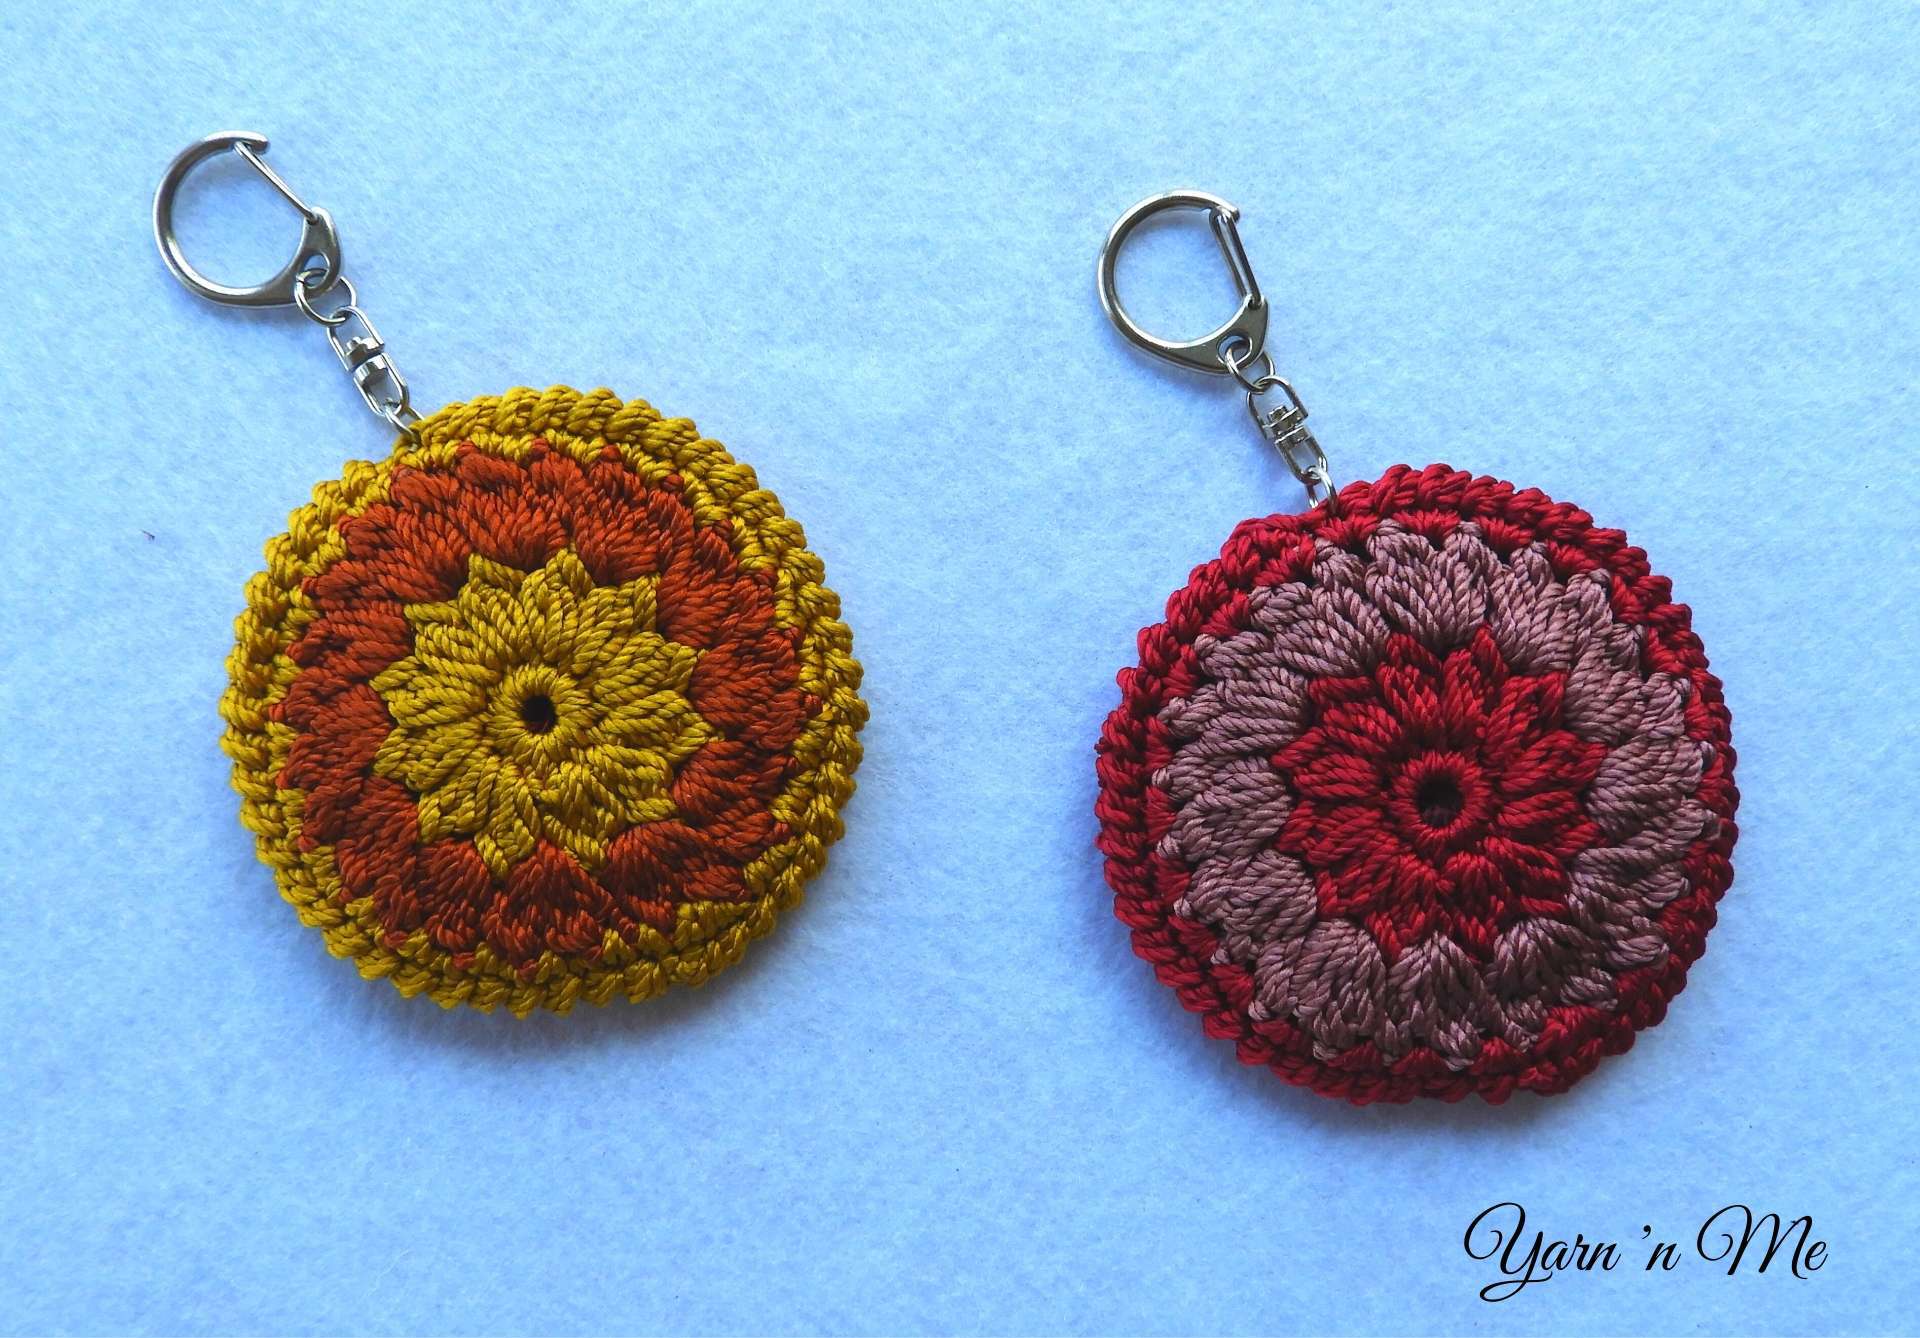
Key ring holder
Abbreviations
MR – magic ring/adjustable ring
ch – chain
sc – single crochet
rev.sc – reverse single crochet
hdc – half double crochet
3dc-cl – three double crochet cluster/ three double crochet together
slst- slip stitch
sp- space
Gauge
Gauge is not important in this patter. However, the final measurement of the rear piece measures 3” in diameter.
Instructions
Rear piece
The entire piece uses colour B
MR
Round 1:
ch1(does not count as a stitch and henceforth), hdc12 in the ring, close the ring and slst into the first hdc [12]
Round 2:
ch1, 2hdc in each of the st, slst into the first hdc. [24]
Round 3:
ch1, (hdc 1, 2hdc) 12 times, slst into the first hdc [36]
Round 4:
ch1, (2hdc, hdc2) 12 times, slst into the first hdc. [48]
Fasten off. Stitch the button at the centre on the right side.
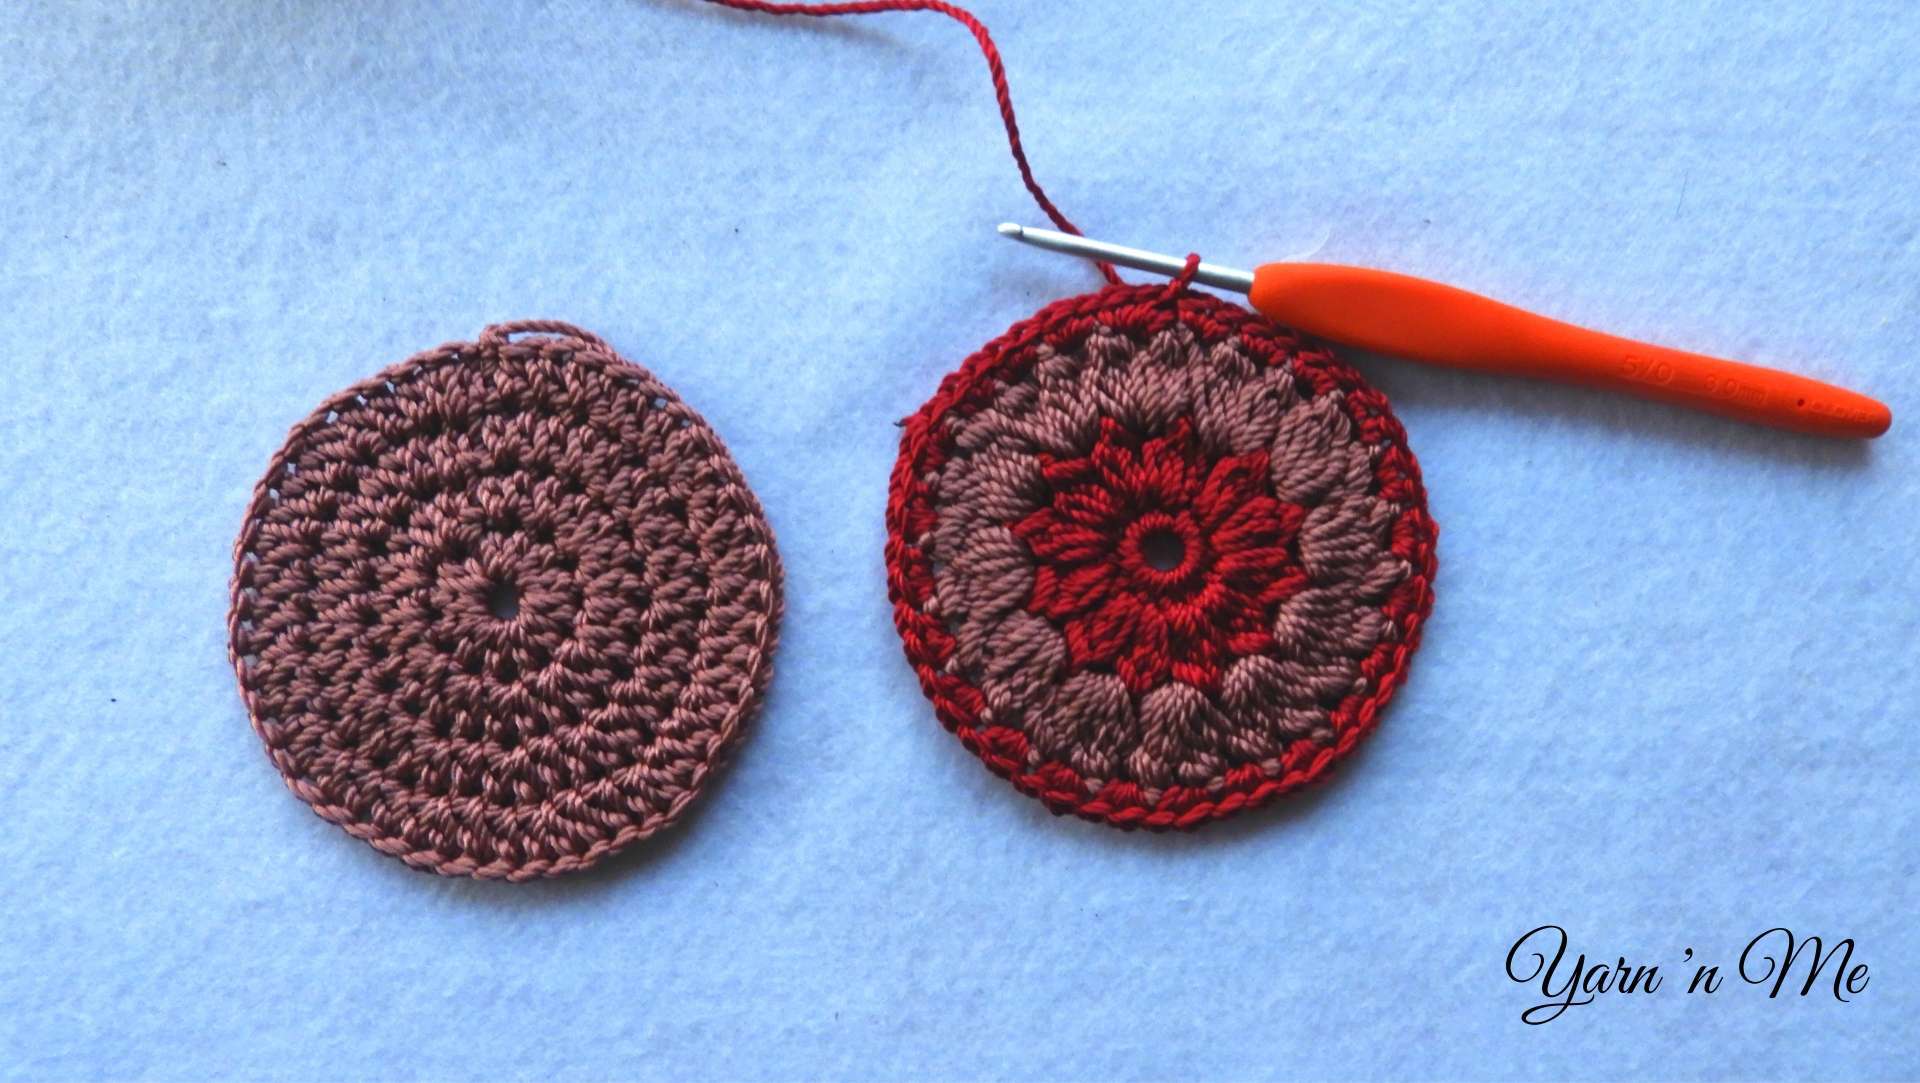
Front piece
Using colour A, MR
Round 1:
ch1, 12sc into the ring, close the ring and slst into the first sc.
Round 2:
ch1, (3dc-cl in sc, ch1) 12 times, slst into the first 3dc-cl. Fasten off. [12 3dc-cl, 12 ch1 sp}
Round 3:
Join colour B in any of the ch1 sp, ch1, *(3dc-cl, ch1, 3dc-cl, ch1) in ch 1 space* 12 times, slst to first 3dc-cl. Fasten off. [24 3dc-cl, 24 ch1-sp]
Round 4:
Join colour A in any of the ch1-sp, ch1, (2sc in ch1-sp) 24 times, slst into the first sc. Do not fasten off.
Joining
Place both the circles with their wrong side together and their right side facing out.
With the front piece facing you, make rev.sc 17, inserting the hook into both the pieces.
Make rev.sc 7 only on the front piece, ch 20 (chain loosely for the button loop), rev.sc 7 only on the front piece.
Skip 14 st on the rear piece, make rev.sc 17 by inserting the hook on both the pieces.
Join with slst in the first st. Fasten off. Weave in all the ends.
Join my Facebook group Yarn ‘n Me makers for more fun content and interaction.
Visit My Ravelry Store to get the print-friendly versions of all my patterns




0 Comments