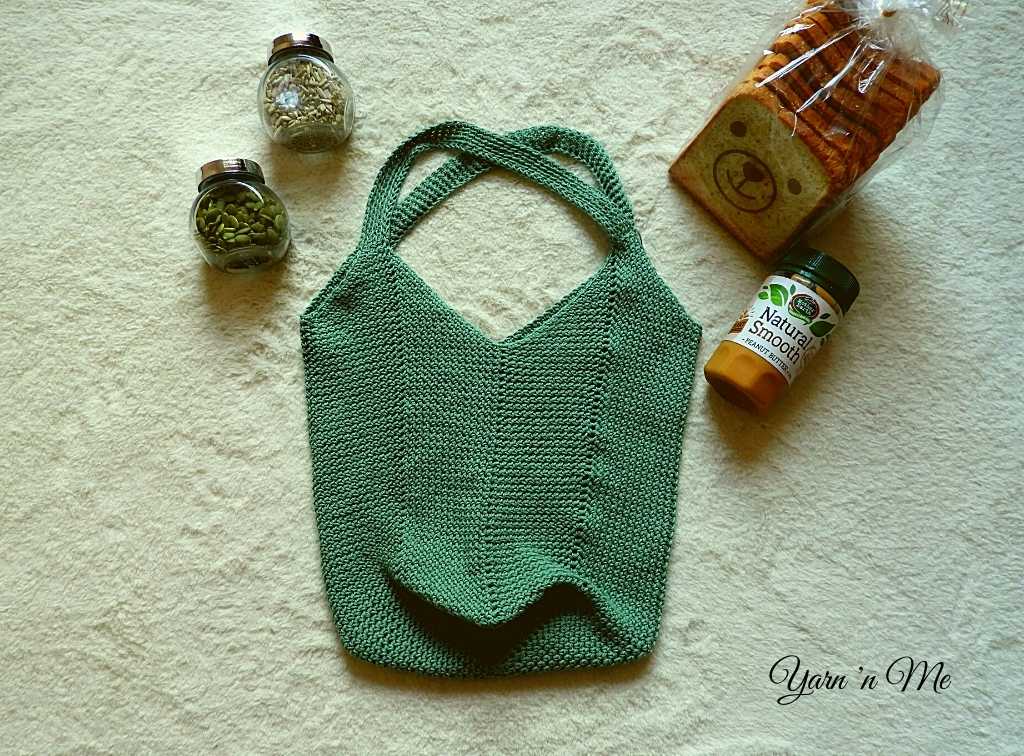
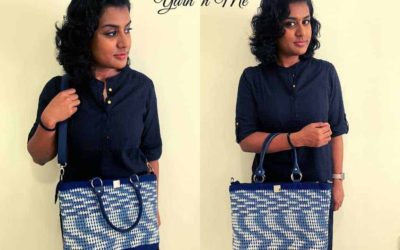
Linen stitch tote, is yet another easy crochet market tote bag pattern in the series after the Keep it Simple tote. Unlike the latter, linen stitch tote is constructed with a pretty solid stitch making the fabric denser than its predecessors.
A sport weight yarn is used in this pattern as well, but the hook size has been increased for two reasons – 1) not to make the bag too heavy, 2) to get a flowy fabric and not a stiff one. The density of the fabric is achieved by the single crochet stitches.
Pattern level
Easy
Materials
Yarn: 100%cottom sport weight yarn about 400m
Crochet hook: 3.75 mm or any size to obtain the gauge
Yarn Needle
Scissors
Stitch markers: 8
Abbreviations
ch – chain
fsc – foundation single crochet
R – round
sc – single crochet
sc blo – single crochet in the back loop only
slst – slip stitch
sk – skip
sp – space
st(s) – stitch(es)
Special Stitches
sc2tog – two single crochet placed together
*insert hook into the next chain space, pull up a loop* one more time, three loops on the hook, yarn over and pull through all through three loops.
Gauge
The base measures 4” after round 10
Finished dimension
Base: 10” square
Height: 17” from tip centre of the base to the point where handles are attached when laid flat (excluding the handles)
You can get the print-friendly version of the pattern HERE
Note
The tote is worked in rounds. So, there is no turning after every round
ch1 at the beginning of the round does not count as a stitch
slst to the next ch2-sp to begin the next round
Instruction
Base
Magic ring
R1: ch1, *sc, ch2, sc, ch1* four times. Join with slst to first sc
R2: ch1, *(sc, ch2, sc) in ch2-sp, ch1, sc in next ch1-sp, ch1* repeat 3 more times. Join with slst to first sc.
R3: ch1, *(sc, ch2, sc) in ch2-sp, (ch1,sc in the next ch1 sp) until the last ch1-sp, ch1* repeat 3 more times. Join with slst to the first sc.
R4-R26: Repeat R3
You can increase or decrease the number of repeats for the larger or smaller base of the tote. Make sure the total number of rows is an even number
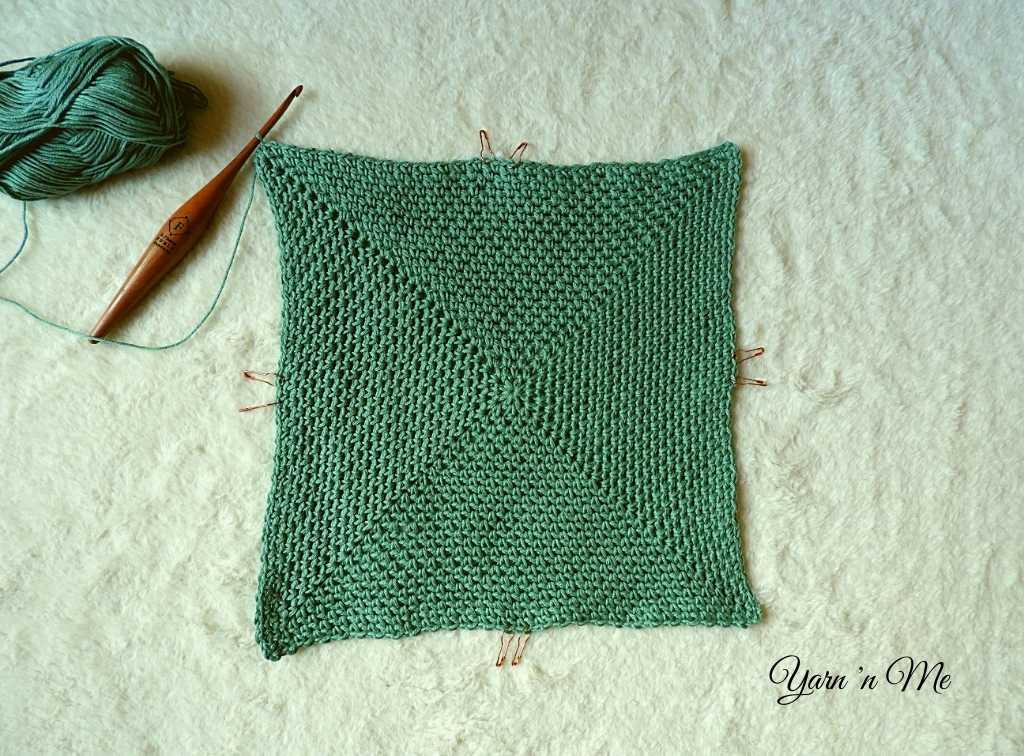
Lay your square flat.
Place a stitch marker on the 13th and 14th ch1-sp on each side
If you have altered the size, find the sc in the centre of each side and place a stitch marker in the ch1-sp before and after the sc.
If the base looks a little off shape, you can block light.
Body
R1: ch1, *(sc, ch2, sc) in ch2-sp, (ch1, sc in next ch1-sp) until before the marked ch1-sp, ch1, sc2tog, ch1, (sc in next ch1-sp, ch1) till the last ch1-sp of the corner* repeat 3 more times. Join with slst to the first sc.
Place markers on ch1-sps before and after sc2tog
R2-R32: Repeat R1
You can increase or decrease the repeats to alter the height
R33: ch1, sc in ch2-sp, *ch1, fsc70, sc in next ch2-sp, (ch1, sc in next ch1-sp) until before the marked ch1-sp, ch1, sc2tog, ch1, (sc in next ch1-sp, ch1) till the last ch1-sp of the corner* sc in ch2-sp, repeat ** once more. Join with slst to the first sc.
Place markers on ch1-sps before and after sc2tog
R34: slst to the next fsc, ch1, *scblo70, (ch1, sc in the next ch1 sp) until before the marked ch1-sp, ch1, sc2tog, ch1, (sc in next ch1-sp,ch1) till the last ch1 sp of the corner, sk next sc* repeat once more. Join with slst to the first scblo.
Place markers on ch1-sps before and after sc2tog
R35: ch1, *scblo70, (sc in next ch1-sp, ch1, until before the marked ch1-sp, sc2tog, (ch1, sc in the next ch1 sp), till the last ch1 sp of the corner* repeat once more. Join with slst to the first scblo.
Place markers on ch1-sps before and after sc2tog
R36-38: Repeat R34-R35
Increase or decrease the repeats to desired thickness of handle.
Fasten off and weave in the ends.
And now, your tote is ready to take out for shopping.
For more similar tote bags, read more on this series HERE
Thanks a ton for your invaluable support. I hope that you enjoyed making this pattern.
If you share your project on Instagram, please tag me, and post it with the hashtags #yarnnmedesigns and #ecofriendlycrochetfor2021. I would love to see your creation.
Join my Facebook group Yarn ‘n Me makers for more fun content and interaction.
Visit My Ravelry Store to get the print-friendly versions of all my patterns


0 Comments