Teacher’s day is round the corner and I see many of my friends in the crochet community have started planning on the gifts for their kid’s teachers. And I understand that it is quite hard to do multiples of some complicated patterns. I think, this design might take you guys out of the worry. It is a very quick and easy gift option.
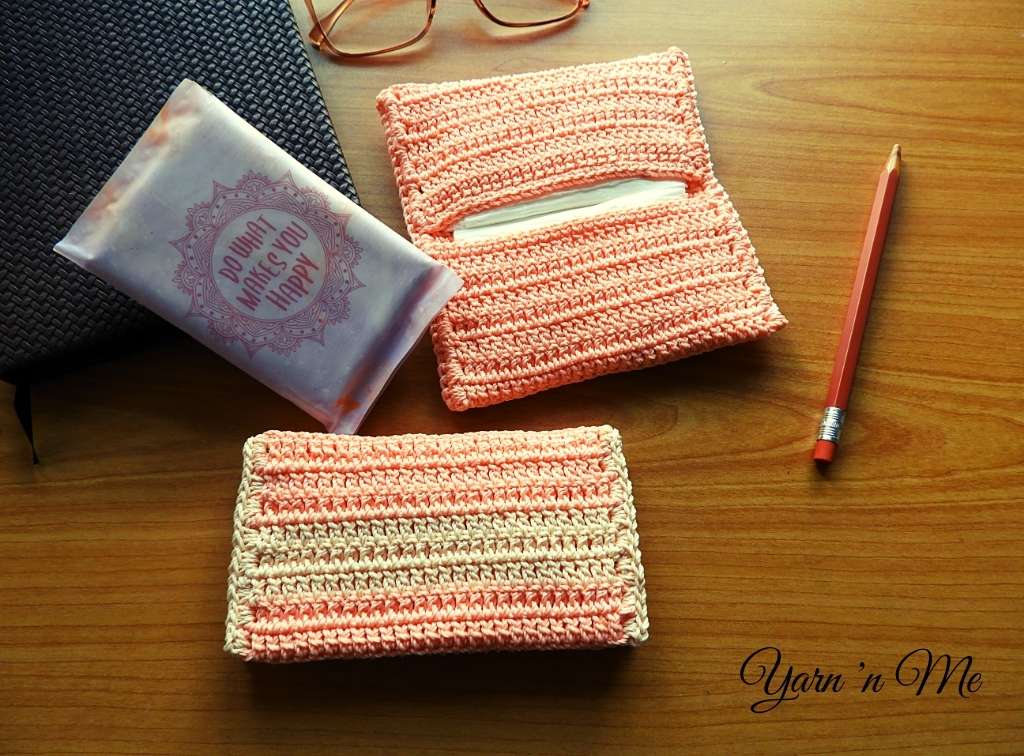
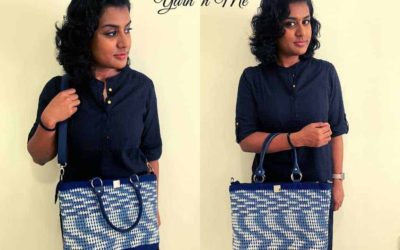
Tissues are something that has become our handbag staple and we carry it everywhere. And here in Singapore, it is very essential for more than just personal use- to chope places or seats in our local hawker centre. (A big shout-out to all my friends here in Singapore! I have done that as well). But, let us be honest, tissues come in a pack of 10 (mostly) and those packs are all over the place in our bags creating a mess. Just to keep it organised, I wanted one tissue holder where I could keep my tissues and comes in handy when most needed.
Inspiration
This design is inspired by the tissue pack that is available near the billing counters at the Perks shopping chain – Cotton on, Typo, etc., the ones that could be added on as charity in our bills for a dollar or two. I really love that notebook kind of design where the tissues are clean and secured inside against that of the centre pull models, where there are high chances that they are exposed outside.
Design
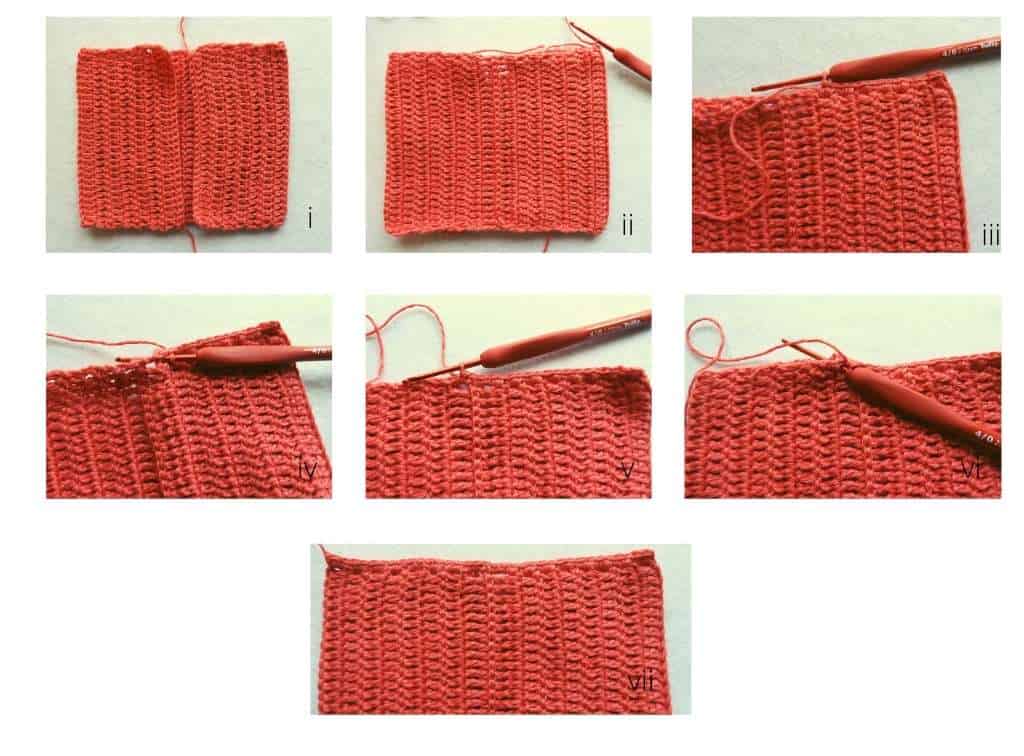
The pouch/holder is constructed in a rectangle which is then folded and joined. The entire design uses only basic stitches – single crochet, double crochet and treble crochet and so is beginner-friendly. The stitches are placed in the back loops only at places that requires folding. After making the rectangle, it is folded in both sides and joined with a row of single crochet, without involving the need to sew. That is a win-win!
The pouch is designed to fit to packs of the Guardian facial tissue- one on each side. The dimension of this tissue is about 4” by 2.5”. So, gauging your project is quite crucial here. We are also using a smaller hook for the yarn to have some structure to the project.
Materials
• Yarn: any sport or dk weight yarn, 80-100 m
• Crochet hook: 2.5 mm
• Scissors
• Yarn needle
Gauge
22 sts x 11 rows of double crochet
Pattern Level
Basic
Abbreviation
dc: double crochet
cdc: chainless double crochet (can be substituted with ch2, dc)
Sc: single crochet
tr: treble crochet
ctr: chainless treble crochet (can be substituted with ch3, tc)
blo: back loop only
st: stitch
Note
• Starting ch1/ch2/ch3 is not counted as a stitch
• Turn your work after every row
Instruction
Leave a long tail of about 45” and make a slip knot
Row 1: ch30, dc in 3rd ch and each ch across
Row 2: cdc, dc in each stitch across
Row 3-7: Repeat Row 2
Row 8: cdc in blo, dc in blo in each stitch across
Row 9-14: Repeat Row 2
Row 15: ctr, tc in each stitch across
Row 16: ctr in blo, tr in blo in each stitch across
Row 17-23: repeat Row 2
Row 24: Repeat Row 8
Row 25-30: Repeat Row 2
Row 31: ch1, sc in each stitch across
With the long tail that was left at the beginning, ch1 and sc in each stitch across on the other side of the foundation double crochet row.
Fold and join

i. Fold the rectangle along the length on both sides in such a way that the unworked loops from row 7 and row 23 are facing out. (The unworked loops from row 15 also faces out)
ii. Hold the work in such a way that all those unworked loops face you. Attach yarn at the folded end.
iii. Place 2sc along each of the posts of the dc by inserting your hook below both the dc posts. (14sc)
iv. Place 1sc with the sc and the tr post
v. Place 2 sc on each of the tr post (There is no joining of pieces involved here, 4sc)
vi. Place 1sc with the sc and the tr post
vii. Place 2sc along each of the posts of the dc by inserting your hook below both the dc posts. (14sc)
And Voila! Your basic tissue pouch is ready to use. Kindly tag me on Facebook and Instagram while making my designs and use the hashtag #yarnnme while posting.
Make sure to follow me on these social media platforms and get instant updates on my pattern release and other free designs. If you are looking for more quick options, check out my Cluster-Around Coaster and Elegant Earphone case. Happy crocheting!
Join my Facebook group Yarn ‘n Me makers for more fun content and interaction.
Visit My Ravelry Store to get the print-friendly versions of all my patterns
I’m definitely gonna try this one out sometime soon
Can’t wait to see your pouch!