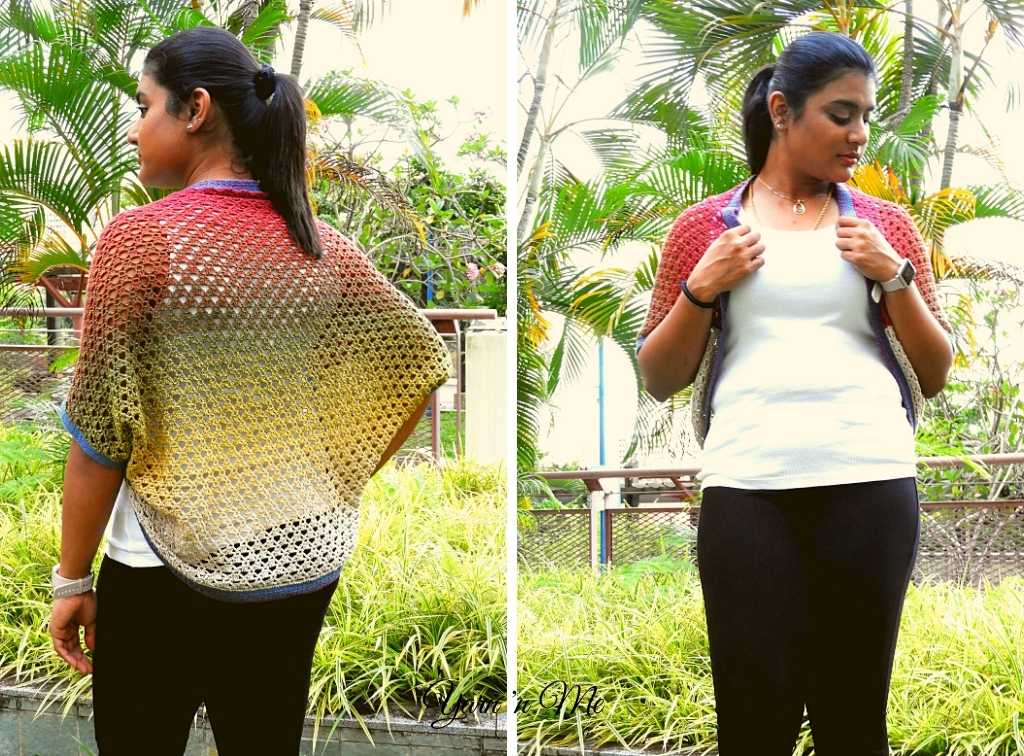
Elegance in elements cardigan is a beginner-friendly cocoon cardigan with easy stitch repeats. The stitch pattern includes all the basic stitches – single crochet, half double crochet and double crochet, that every crochet beginner learns. ‘Simple is Beautiful’ and ‘Simplicity at its best’- this pattern follows these principles. Any beginner with thorough knowledge and skill in the basic crochet stitches can take up this pattern as their first crochet garment project.
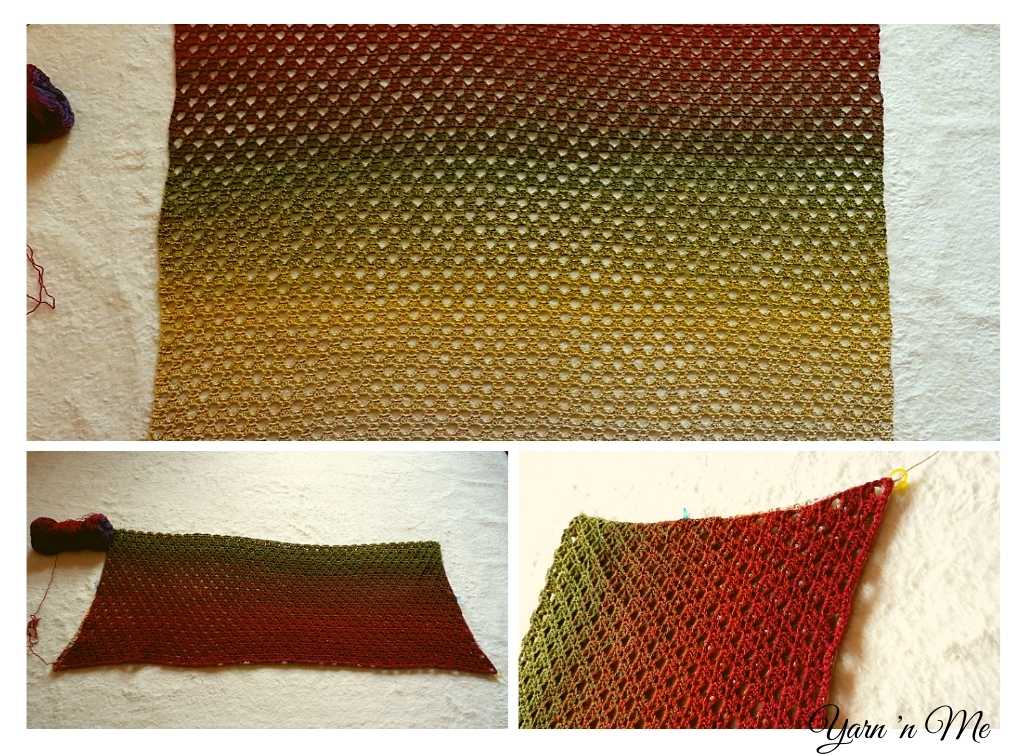
The cardigan has an extremely basic construction. You just make a rectangle, fold it top to bottom, sew the sides leaving the arm holes and finish up with the edging.
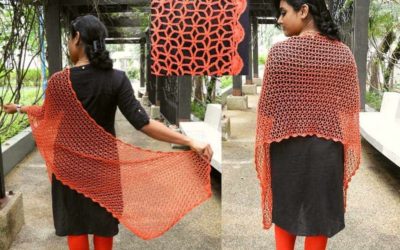
Check out the Simple Summer Shawl and Wanderlust Shawlette for more easy patterns
Pattern level
Basic
Materials
- Yarn: Scheepjes whirl and corresponding whirlette
- Any fingering weight yarn with same yardage can be used
- Crochet hook: 3mm
- Stitch markers: 4
- Tapestry needle
- Scissors
Abbreviation
st – stitch
ch – chain
sc – single crochet
hdc – half double crochet
dc – double crochet
sp – space
sk – skip
cdc – chainless double crochet (can be replaced with ch2, dc)
fsc – foundation single crochet (can be replaced with ch one more than the fsc and single crochet across from the 2nd ch from the hook)
Gauge
Fdc29, work 15 rows in pattern and finish with the last row (sc row)
25sts in 14 rows in pattern measures 4”

Sizes
S/M, L/XL, 2XL/3XL
Finished measurements
(37’’, 45’’, 53’’) wide and (27’’, 29’’, 30.5’’) long
Note
• The chain at the beginning of a row does not count as a stitch
• The fsc and the sc row is the right side of the cardigan
Instructions
If you are using Scheepjes whirl, start from the other end of your whirlette colour
fsc (209, 233, 257)
Row 1
Ch1, hdc in the 1st st, *ch3, sk3, hdc, ch1, sk1, hdc* repeat until last 4 sts, ch3, sk3, hdc in the last st. Turn
Row 2
Cdc, *3dc in the ch3-sp, ch2, sc in the ch1-sp, ch3* repeat until the last ch3-sp, 3dc in the ch3-sp, dc on the last hdc. Turn
Row 3
Ch1, hdc on the 1st dc, *hdc on the next dc, ch1, sk1, hdc on the next dc, ch3* repeat until last 4dc, hdc on the next dc, ch1, sk1, hdc on the next 2 dc
Row 4
Cdc, *ch2, sc on the ch1 sp, ch2, 3dc on the ch3-sp* repeat until last ch1-sp, ch2, sc in the ch1-sp, ch2, dc on the last hdc. Turn
Repeat Rows 1-4 until (85, 91, 97) rows
You end with the hdc row
Last row
Ch1, sc in each stitch across. (209, 233, 257) sc
To customise your measurements,
I. Measure your elbow to elbow measurement and make your fsc to that length
II. Make sure your fsc is in the multiples of 6+5
III. Repeat rows 1-4 to your desired height
Do note that, the height of the cardigan will be shorter than your intended measurement. However, the edging of the front and sleeves will further an inch or two to your measurement.
Block lightly if required before proceeding to sewing and edging
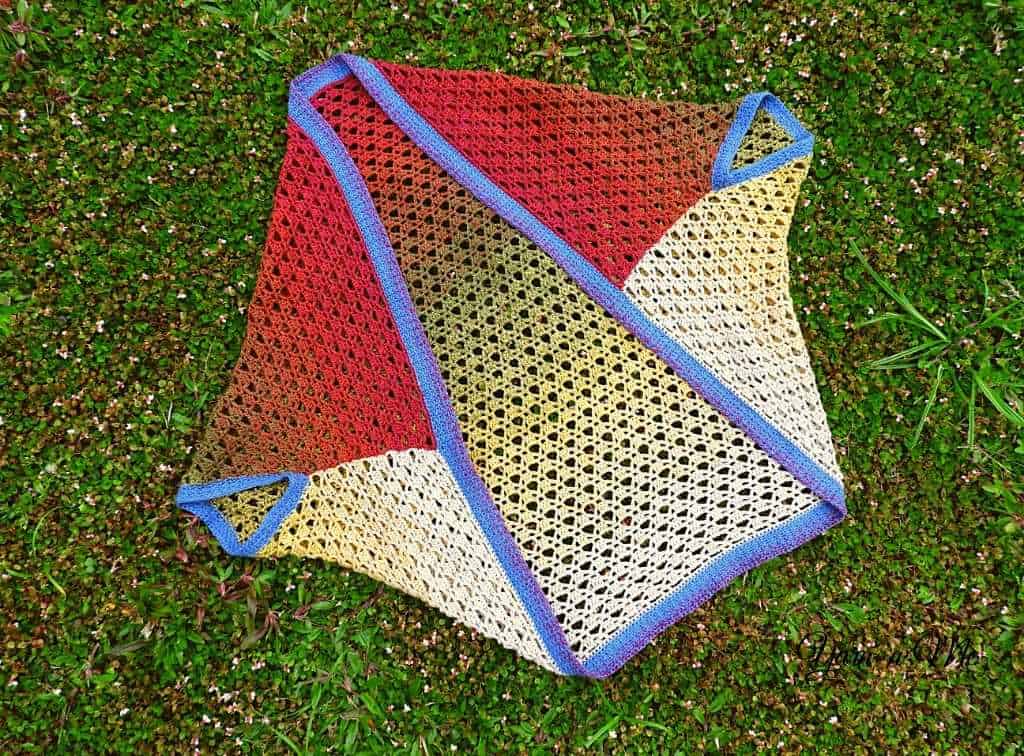
Armhole separation and sewing
i. Lay your rectangular piece flat, with the right side facing up
ii. Bring the top of the rectangle over the bottom. The right side goes in and faces one another, and the supposed inside is facing out
iii. Sew sides, Leaving a gap of (7’’/8’’/9’’). This will be your armhole.
iv. After sewing, turn your cardigan to the right side to proceed to the edging
Armhole edging of the cardigan
If using Scheepjes whirl, attach the other end of the whirl (if you have the entire solid colour available) or whirlette to the bottom of the armhole
R1: ch1, sc uniformly across the armhole. The number of sc should be a multiple of 2. Join to the first sc. Turn
R2: ch1, *sc, ch1, sk1* repeat to the end. Join to the first sc. Turn
R3: ch1, *sc in the ch1-sp, ch1, sk1* repeat to the end. Join to the first sc. Turn
Repeat R3 twice more or until desired length.
Last row: With right side facing, ch1, sc in each st across
Fasten off and weave in ends
Repeat fully on the other armhole
Note: If you are not sure with the sufficiency of yarn, better do the edging with whirlette
Front edging of the cardigan
If using Scheepjes whirl, attach the other end of the whirl (same as armhole if you have at least some solid colour available) or whirlette to either of the sewn region
Repeat Row 1-3 of sleeves
Repeat R3 five more times or until desired width
Repeat last row of the sleeves
Fasten off and weave in the ends
Note: You will get colour change in the edging. If you want the edging to be fully in the solid colour, do the edging with the whirlette
And now, you are good to style your cardigan.
If you like patterns with simple stitch repeats, you might want to check out the Cluster around placements
Thanks a ton for your invaluable support. I hope that you enjoyed making this pattern.
If you share your project on Instagram, please tag me and post it with the hashtags #yarnnmepatterns and #yarnnmemakers. I would love to see your creation.
Make sure to follow me on Facebook and Instagram and join the FB group Yarn ‘n Me makers for more interesting content.
Happy Crocheting!
Join my Facebook group Yarn ‘n Me makers for more fun content and interaction.
Visit My Ravelry Store to get the print-friendly versions of all my patterns


0 Comments