We all have crocheted different tote bags, but always wanted to get those designer bags kind of finish which we hardly achieve. Yes, the struggle is true. Achieving a sturdy base as those designer totes is quite difficult with crochet.
But, don’t worry, in this blog post accompanied by a free crochet tote bag pattern using leather bag base, I’ve got it covered. With this pattern, you can get a sturdy bag base of an everyday tote bag and the fell and elegance of a handmade product.
Get to know about the Take it Easy crochet tote bag pattern
Take it Easy tote pattern is an everyday tote bag pattern made with leather/faux-leather bag base and handles. You just have to start the bag by crocheting over the existing bag base and start constructing your body. In this way we can get a sturdy base and use lesser yarn as compared to crocheting your base.
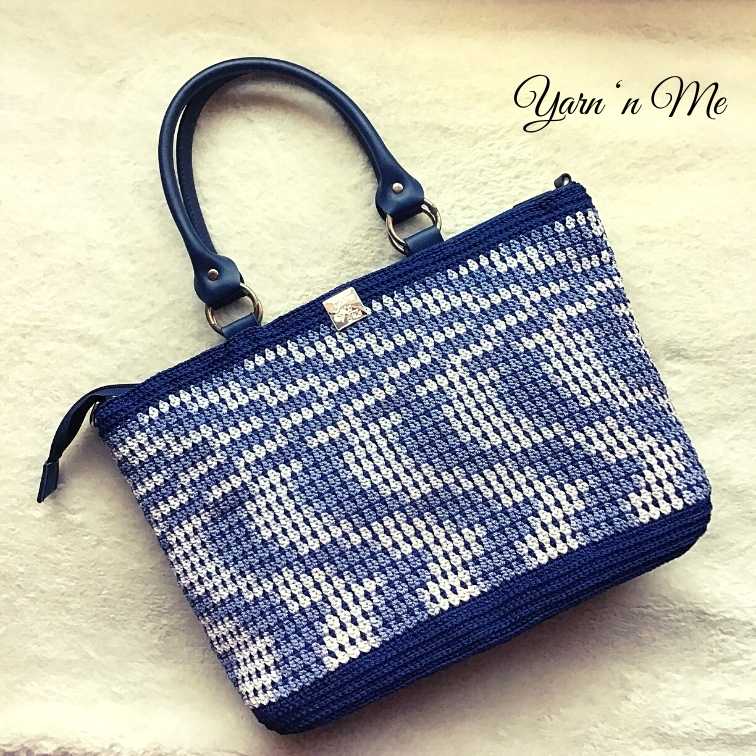
The stitch pattern in this design is very simple. It only uses double crochet, single crochet and chain stitches.
The stitch pattern is in multiples of two and therefore you easily can manipulate the pattern for any size and shape of your bag base.
As for the yarn used, I used polyester sport weight yarn in variegated colour and a complementing solid colour. You can use yarn from any weight category for this pattern. Just make sure the stiches are neither too cramped nor loosely fabricated.
Click HERE for bag base tutorial
Materials
- Yarn: Sport weight variegated yarn 400m (A) and sport weight solid colour yarn in complementary colour 400m (B)
- Crochet hook 3mm
- Tapestry needle
- Scissors
- Tote bag handle
- Tote base
Gauge is not crucial for the pattern. Just make sure that stitches are close enough to form a thick fabric.
Abbreviations
- ch – chain
- sc – single crochet
- cdc – chainless double crochet
- dc – double crochet
- dc3rd loop – double crochet in the 3rd loop
- sp – space
- sk – skip
- slst – slip stitch
Finished Dimension
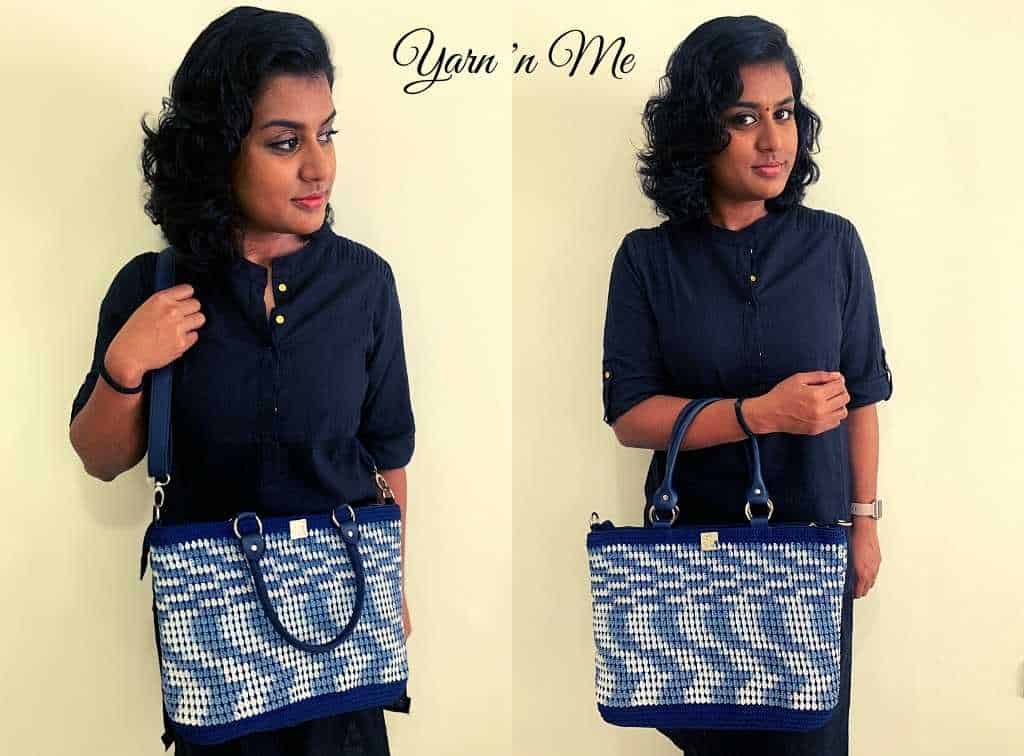
The width of the crochet tote depends on the dimension of the faux-leather base.
The height varies based on our individual preferences.
Instructions
Base
To crochet over the leather base, refer the tutorial in the blog post HERE
While doing the set up row,
Use yarn A for the foundation row and yarn B for the set up row.
Make sure that the total stitch count of the set up row is multiples of 2.
Body
Continue with colour B
Row 1: ch2 (does not count as st), dc3rd loop in each stitch across. Join with slst to the first dc3rd loop.
Row 2-5: Repeat row 1
Switch to yarn A while joining with slst in row 5
Row 6: cdc, dc in the same st, *sk next stitch, 2dc in next stitch* repeat till the end. Join with slst to cdc using yarn B.
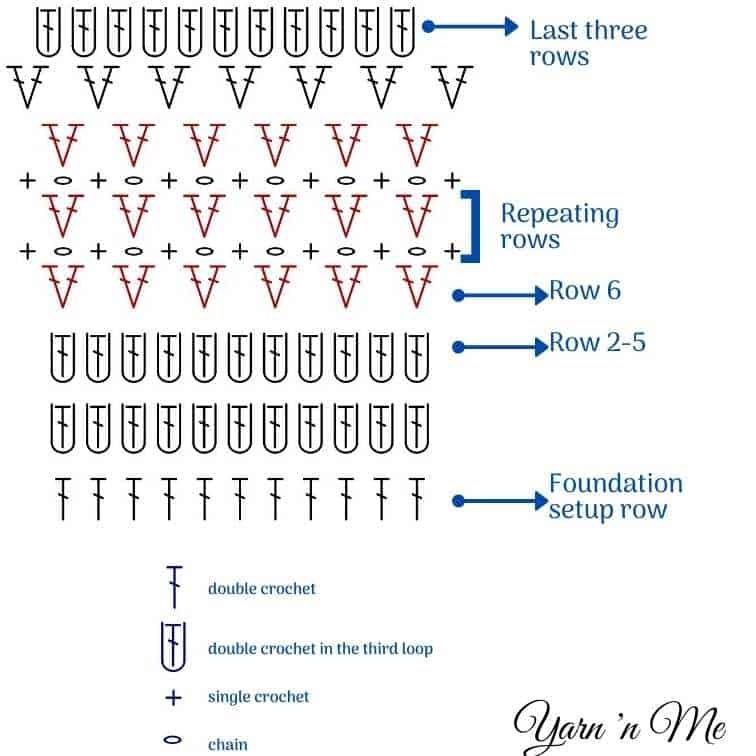
Row 7: ch1 (does not count as st), sc in the space between cdc and previous dc, *ch1, sc in next sp between two 2dc* repeat till the end. Join with slst to first sc using yarn A.
Row 8: cdc, dc in first ch1-sp, *2dc in next ch1-sp* repeat till the end. Join with slst to cdc using yarn B.
Repeat Row 7-8 until you reach 1” less than your desired height.
Next Row: Using yarn B, ch2 (does not count as st), 2dc in the space between cdc and previous dc, *2dc in next sp between two 2dc* repeat till the end.
Next Row: Repeat Row 1 two times using yarn B. Fasten off and weave in the ends.
Attach the tote bag handles to the finished product.
Add lining and zipper if necessary.
This stitch pattern can be used without lining as an open tote as well.
In this sample, I have used an instant bag lining with attached handles.
More crochet tote patterns
And there you have it, Take it easy tote, your crochet tote bag with leather bag base ready to be flaunted. Now you can also make bags and purses with the structure of a designer bag and the personality of a handmade crocheted touch.
Make sure to tag me while posting your finished tote bag patterns and use hashtags #yarnnmedesigns #yarnnmemakers. I can’t wait to see them.
Join my Facebook group Yarn ‘n Me makers for more fun content and interaction.
Visit My Ravelry Store to get the print-friendly versions of all my patterns



0 Comments