Do you know you can multitask while crocheting?

Crochet has been a favourite hobby for so many of us and will always be. This fibre-art, on its own can be quite engaging and demanding at the same time. And many of us, at times, cannot find time or afford time for their favourite craft.

Being a crochet blogger, there have been and will be days where I get to crochet like ten minutes between tasks like cooking, for instance, crocheting while my curry simmers, and so on. Also, I missed out on many of my other favourite activities while I indulge in my crocheting.

But now, the worry is over. There are five things that we all can do while crocheting. You can couple your crochet with one of these five activities based on your crochet skill level-beginner or pro, the project type – simple repetitive stitch patterns to intricate one-time stitch patterns.

1. Watching television or ‘Netflix & Crochet’

This is one of the favourite activities for most of the fibre crafters out there- sitting on the couch with our projects and binge-watching shows on Netflix. It is the most popular of all the other activities are listed here. The joy of crocheting and binge-watching on Netflix is another level. At times, I like to couple my crochet with You tube videos. I catch up on all my subscribe channels while doing so.

If you would like to watch something on screen while crocheting, select projects that has a quite simple stitch pattern, the ones that does not involve a lot of counting. Something like the Elegance in Elements cardigan. With such crochet pattern you will easily be able to get through both your shows and your project. However, if you are just getting into crochet and making one of your first projects, I would not recommend this.

2. Catching up with friends

Do you meet up with your friends quite often and miss your crochet? Or the other way, do you indulge a lot in your crochet that you miss out meeting your friends? You can always crochet while you are catching up with your friends.
The other day, I was having a conference call with a couple of friends on zoom and we talked for hours together. I was literally having my project on hand and crocheting all the way through our video chat. Mind you, crochet only if your friends are super understanding and you are a good listener.

If you are catching up with bunch of your friends who crochet as well, like meet-and-crochet kind of stuff, then that is fantastic for you. While crocheting with friends, I would highly recommend going for a project with simple stitch pattern as well.

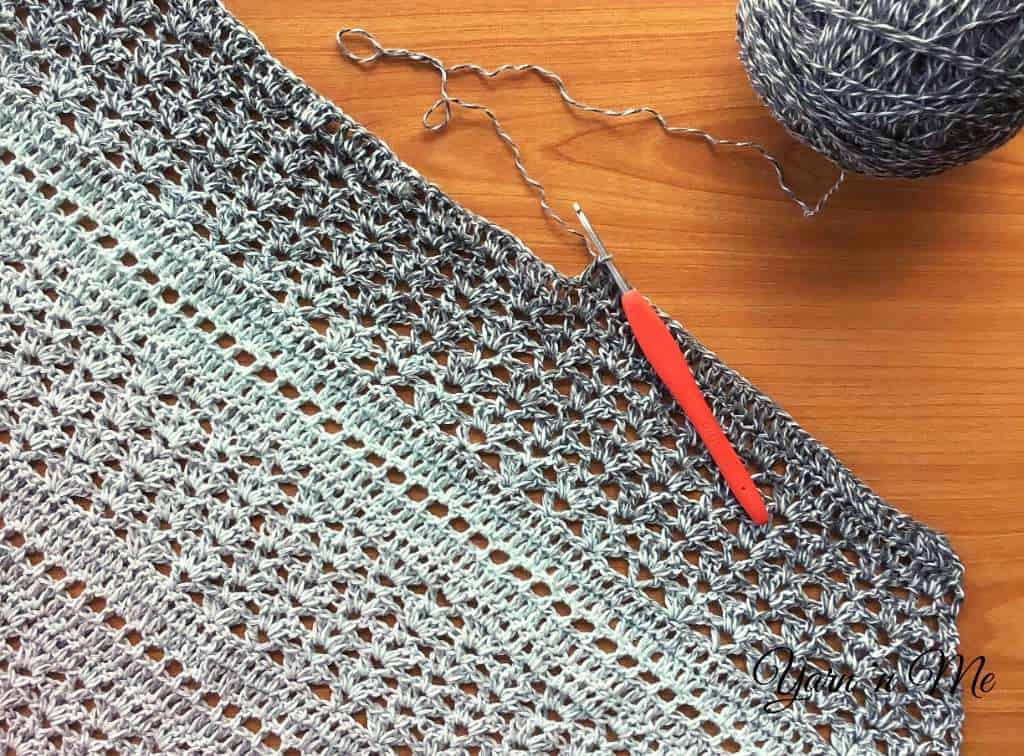
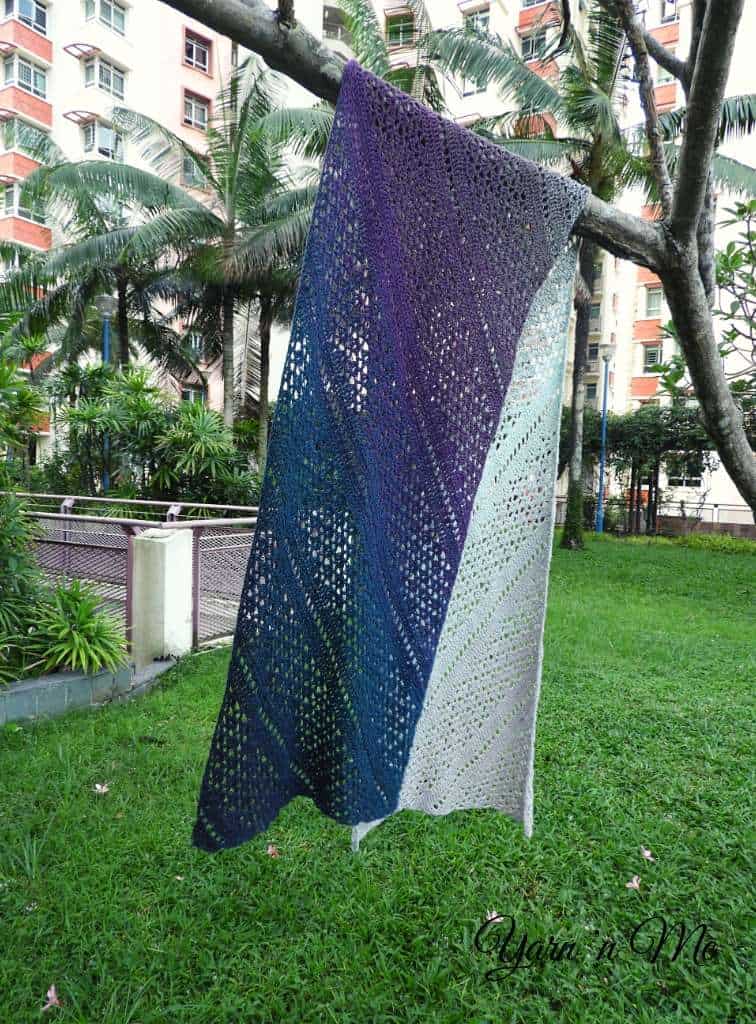
Do you want a crochet project to accompany you while watching television or catching up with friends? Check out my Simple Summer Shawl and the Wanderlust Shawlette

3. Family time

Now, don’t get started on me. I am not asking you to spare your family time to crochet. Instead, you can always crochet while spending time with your family. For instance, you can chill by the pool, crocheting while your kids/hubby are chilling in the pool. You can always crochet during your movie night or watching series. Trust me, I have done all of this. All you must do is to choose the project that feels right for you that you shall not miss out on your family time.

For crocheting outdoors, projects using cotton yarn like the Cluster Around Placements is the best option.

4. Audiobooks/Podcasts

This is my most favourite activity to do while crocheting. I had been an avid reader before I picked up crochet. As much as I enjoyed crochet to the fullest, they had always been a lingering longing for reading books. I had missed out on a lot of reading and missed reading so much. This was all until I discovered the world of audiobooks.

With audiobooks, I can enjoy two of my most favourite activities, reading and crocheting, together. Since you are only listening and processing stuff in the mind, you can choose projects with quite a few stitch repeats. This type of multi-tasking is a sort of escape from a crazy day or scenario.
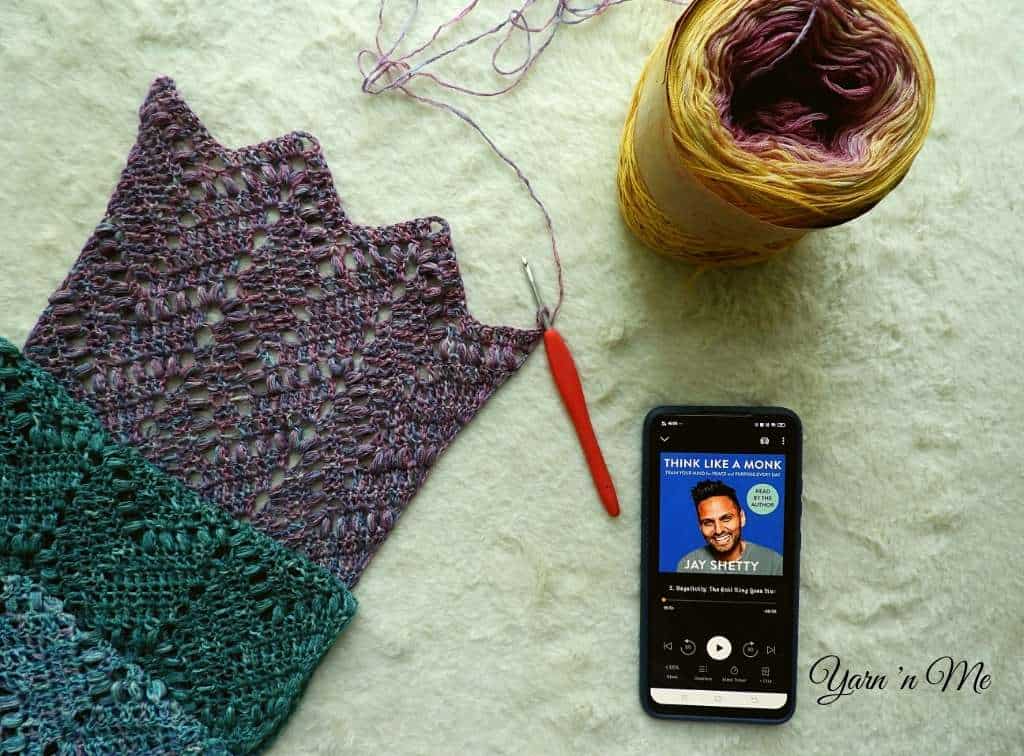
you can listen to podcasts while crocheting

Fantasy fiction is one of my favourite genres to listen to while crocheting. The pace of the story line has always pushed my crocheting to a next level. The creative story telling amplifies my creativity as well. From fantasy fiction, I have also listening to self-help and personality development books.
Podcasts are my most recent discovery. They are just as fun as audiobooks. I follow and listen to a couple of podcasts on blogging, productivity, and self-help. Since then, they have become a part of my morning ritual.

If you are the type of person who like to listen to audiobooks or podcasts while crocheting, you can choose patterns like the Puffs on Slalom scarf and Pivoting Peaks tote 

5. Music

How could we not include music in this list? It has become the most crucial element in getting through my difficult crochet projects. Let’s be honest here. There have always been some parts of any big projects, where we feel a monotony.  Well, don’t you worry anymore. Just add a pumping playlist to your crochet routine and see how that helps you get through,

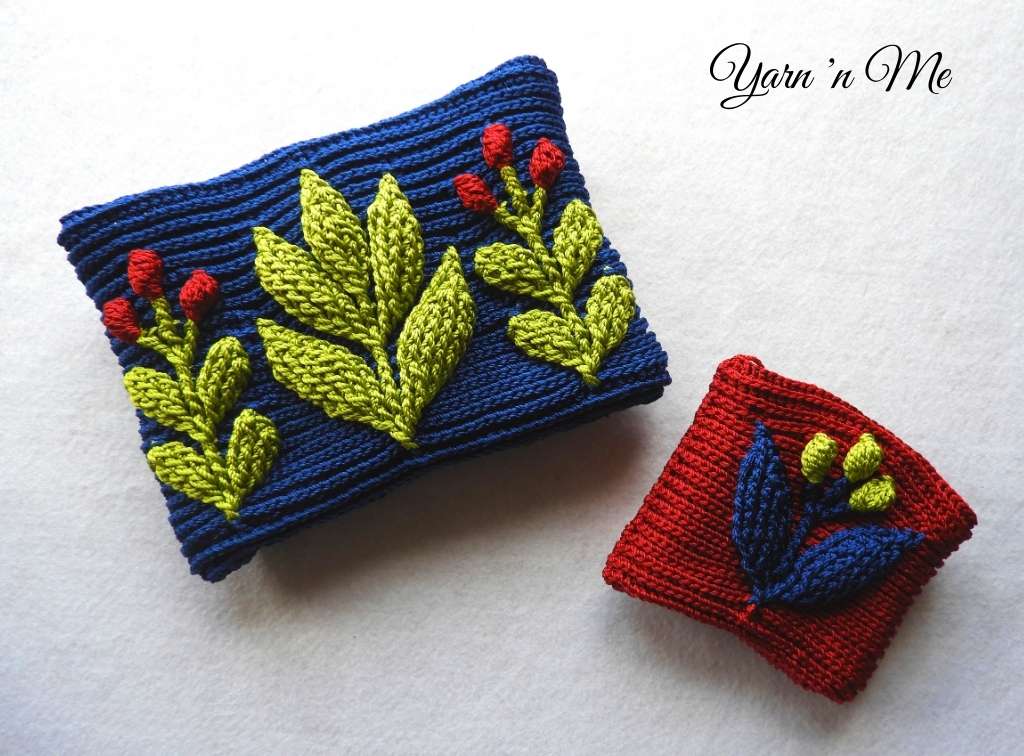
One fine day, while I was working on my Meadow bag set, I was mid-way on my clutch. This was the time I felt monotonous and was about to give up for the day. Since the project demanded attention, I was not able to give my mind to television or audiobooks. Suddenly, I decided to play my favourite playlist on Spotify, and boom! I had completed both the clutch and the coin purse.
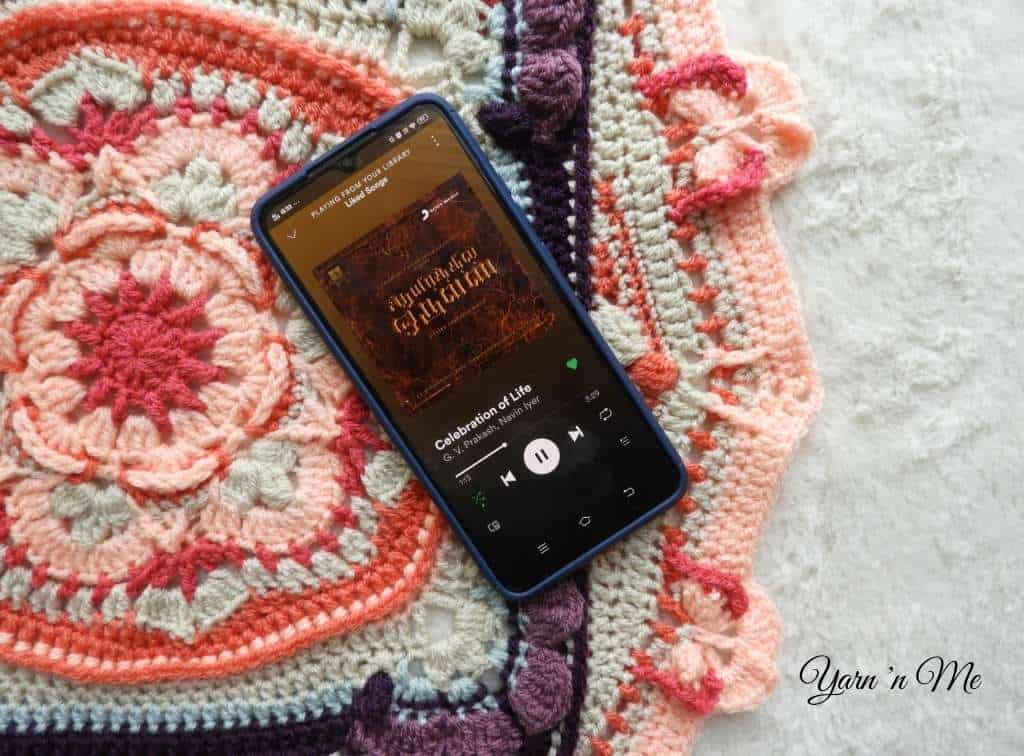
Listen to music while crocheting to break the monotony

 Sometimes, all we need is a little boost from music to get through the monotonous parts of our project. This even helps for people who are just getting into crochet with one of their first projects. Music helped me to get through my Meadow bag set and is helping me with the Scheepjes Crochet-a-long 2020 (#teamconchology)

Have you tried to do any of these while crocheting? Is there anything else you have done while crocheting? If so, please let me know in the comments below. I would love to read your interesting stuff.

Please make sure to follow me on the social media platforms and join my Facebook group, Yarn ‘n Me makers. There are a lot of amazing content lined up for the Facebook group. When you post your projects from any of Yarn ‘n Me pattern, do tag me and use #yarnnme #yarnnmemakers #yarnnmedesigns while posting. I love to feature you on my IG stories. Take care!

Join my Facebook group Yarn ‘n Me makers for more fun content and interaction.

Visit My Ravelry Store to get the print-friendly versions of all my patterns

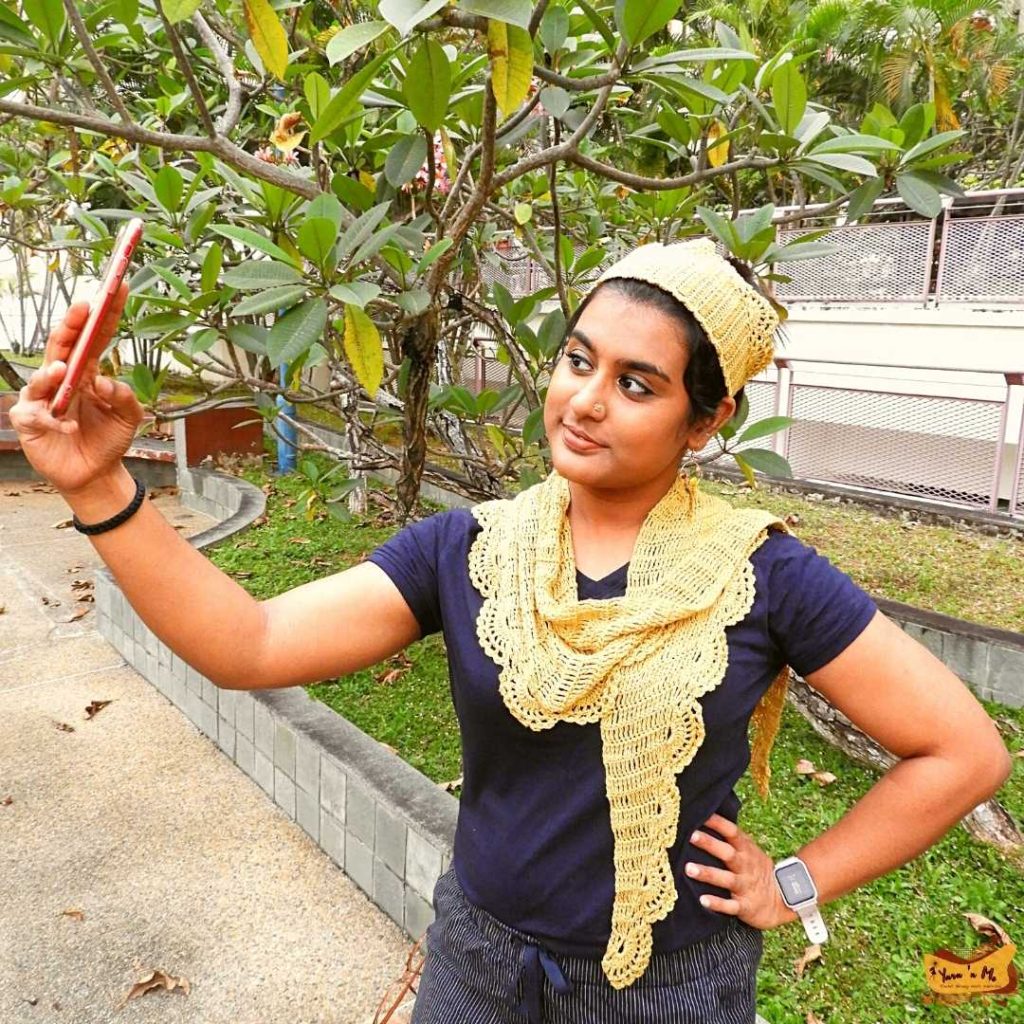
Wanderlust Shawlette & Headscarf crochet pattern- a simple and elegant one-skein wonder

Wanderlust shawlette is a simple flat triangular summer scarf. The crochet shawlette and headscarf pattern is a one-skein wonder and can be made literally with a single cake of Scheepjes whirlette. The shawlette and the matching headscarf are quick to make despite using a thinner yarn and a small crochet hook. They can instantly amp up your basic outfits and make you well put together when you have not tried them.

Add this to your Ravelry favorites HERE

The name

There is no deep-cut reason for naming this pattern “the Wanderlust.” I am always fascinated by the idea of a solo trip with bare minimums. We pack our basics and a few accessories for trips to bring out the outfits. Wanderlust patterns fit perfectly to this.

Construction of the crochet shawlette and headscarf

The shawlette and the headscarf are constructed from one end of the triangle to the other. There is a gradual increase along one side at the beginning, a few rows worked without any increase/decrease, and finally, a gradual decrease in the stitches along the same side as the increase. Later, they are completed with a simple yet elegant border. The headscarf has ties at both ends to facilitate easy tying.

Would you like to make an easy triangle shawl? Check out my Simple Summer Shawl here.

Pattern level

Easy

Materials

  • Scheepjes whirlette
  • Crochet hook 3.25 mm and 3 mm
  • Scissors
  • Tapestry Needle

Gauge

Shawlette

18 stitches in 6½ rows of treble crochet for the shawlette using a 3.25 mm crochet hook

Headscarf

23 stitches in 9 rows of dc for the head scarf using a 3 mm crochet hook

Finished dimensions

Shawlette: 66” long & 10” wide

Headscarf: 20.5” long & 4.5” wide, excluding ties

Pattern testers

I extend my heartfelt thanks to my testers, who helped me bring this pattern out with perfection.

Hema @yarnfables

Oty @itsrajutanmama

Anila @anila_rosee  

They are amazing makers. You would want to check them out!

I have more designs in the pipeline. So, if you would like to test my patterns in the future, keep an eye on my Instagram Profile HERE.

crochet shawlette and headscarf pattern

Get the Crochet Shawlette and Headscarf pattern on my Ravelry Store HERE

Make sure to use the hashtags #yarnnmedesigns and #yarnnmemakers. I would love to feature your work on my profile.

Follow me on Instagram for more updates on my pattern designs and WIPs. Sign up for my newsletter to get a pattern release discount code. Take care!

My take and thoughts on the Meadow bag set

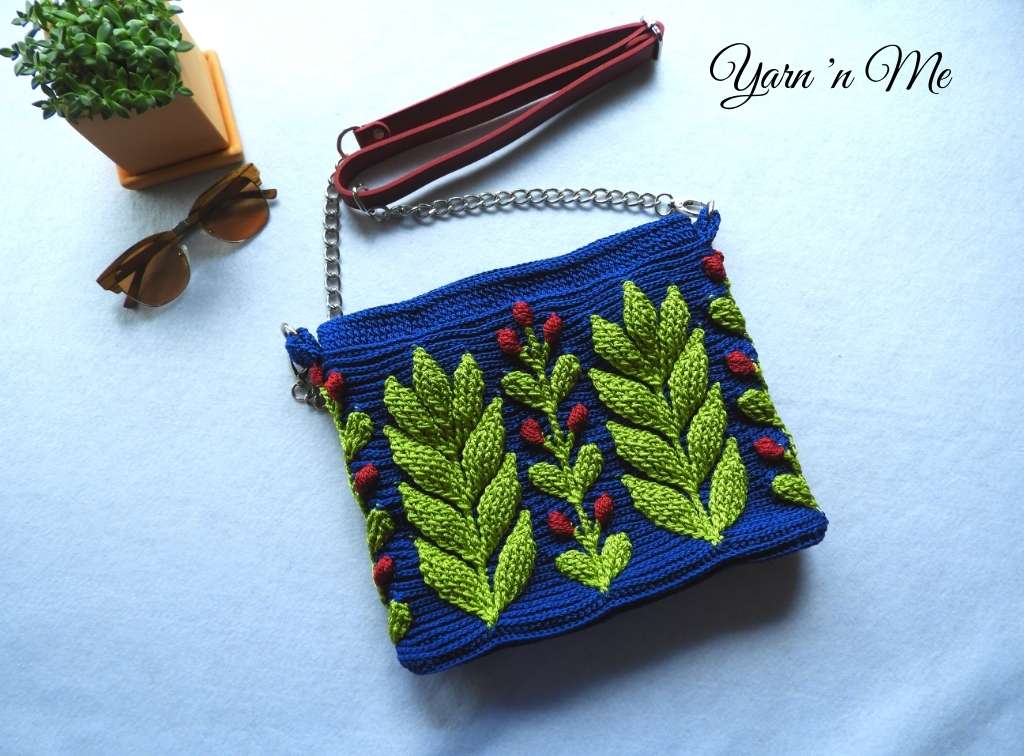
The Meadow bag set comprises of three bag components – a cross body sling bag, a clutch, and a coin purse. The patterns are designed by Natalia Kononova from Outstanding Crochet. They are available as two purchasable PDFs – one, Meadow Bag and the other, Meadow clutch and coin purse. The article is mostly about my take on this project elaborating on what to expect and get out of it, how you can add embossed crochet technique to your crochet skillset.

If you are looking for a rectangle shawl or scarf without starting with long foundation chains, Erigenia in a rectangle shawl is the one for you.

Design and technique

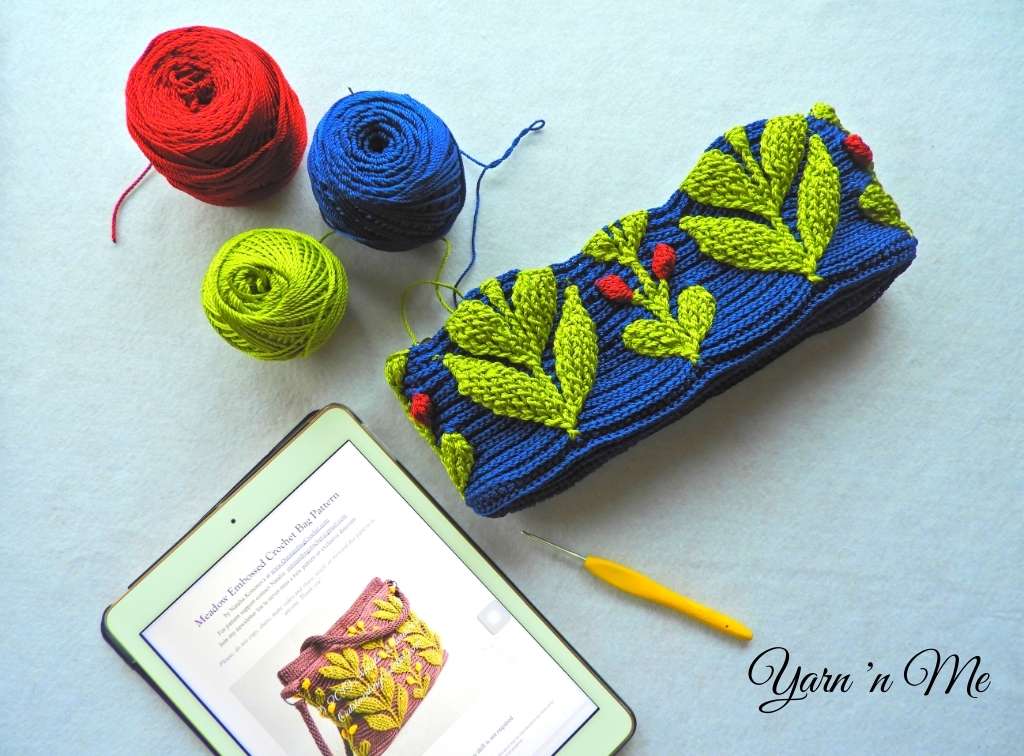
The pattern is designed with embossed crochet technique in which the textural stitches like front post, back post and cluster stitches are used. Besides, it is worked with two yarns held together in which the front post stiches are made with one colour and the other stitches are made with the second colour and just creating a contrast and distinctive embossed patterns.

Meadow Bag

The naming of the pattern has been quite aptly done. A meadow means a land of wild plants and blooms. This design literally has them all – wildly growing leaves interspersed with blooms. To top it all off, the leaves and the blooms are made with two different colours which adds more beauty to the final product. When made with the right colours, your bag will look like a real meadow. 

Yarn

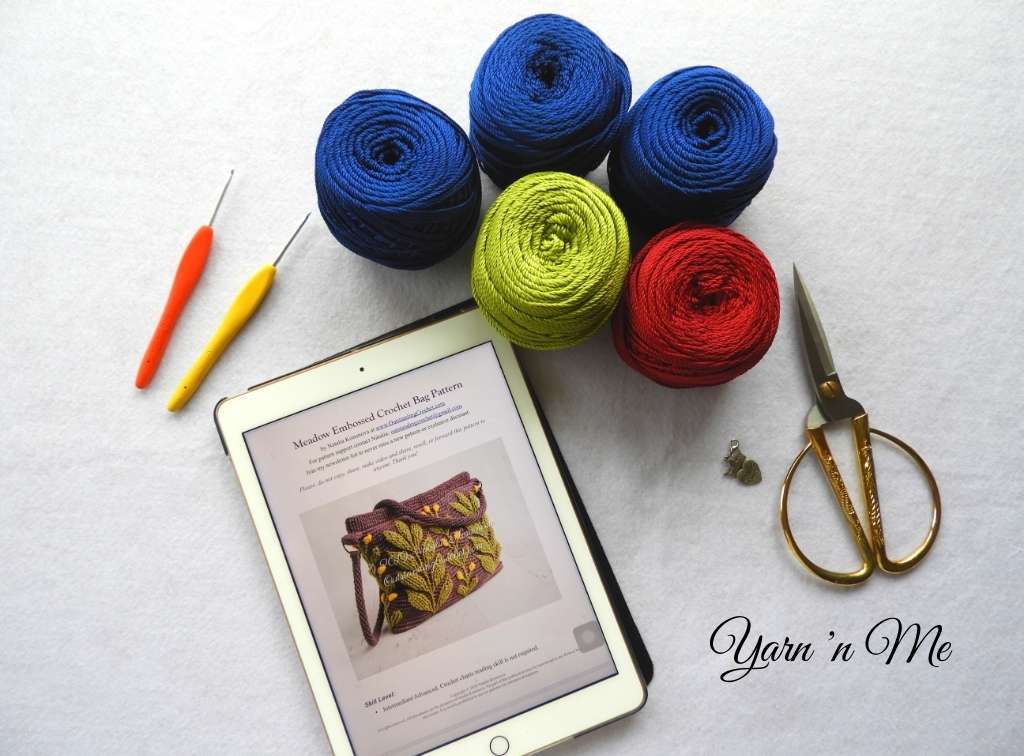
The pattern originally calls for Scheepjes Catona, which is a fingering weight yarn, in three colours, along with 2.75 mm crochet hook. The designer has given us so many colour combinations to choose from also a blank template to help us come up with our own combinations. You can check out all the combinations and blank template in her blog here.
For my bag, I used a polyester yarn – Polyester shiny from Yarnholic. It is a sport weight yarn with a yardage of about 250 m per 100 g. I did not have any problem in meeting the gauge as specified in the pattern. I chose one of the combinations provided by the designer – blue, green, and red, and I chose my colours accordingly.

Meadow bag set

In, total, I had used 4.5 skeins of blue (colour A), 2.5 skeins of green (colour B) and a little less than 1 skein of red (colour C). I did shuffle the colours for the coin purse, else I would have required more of blue and green and less of red.


Skills

The pattern calls for an intermediate skill level. It involves post stitches – front post and back post stitches, increases and decreases, front-post cluster stitches and placing stitches between stitches. Reading written crochet patterns and/or diagrams is of utmost importance for making this. However, several tips and tricks on how to crochet certain parts of the design has been given along the pattern as video support along with pictorial explanation. Some of them include from the basic stuff like, how to make the foundation knot and how to change colours within the row, to the intricate stuff like how to make and sew the lining for the bag.

Embossed crochet technique

My thoughts

To be outright honest, this is my very first pattern that I bought and all the while I was either choosing free patterns to work or mostly creating my own (well, without even knowing). I am always amazed by her Natalia’s embossed crochet designs and when she dropped this design, I was very sure to get my hands on them. I was extremely excited to train myself on a new skill in crochet and the pattern did not disappoint me in any manner.

All kind of support was given in all possible manner – be it pictorial, verbal or videos to pick up the skill to do the project. Even the tiniest of the details, like changing yarn from one to another at different points for different stitches, was very well taken care of. There is even a picture tutorial on how to go the lining for the bag.

The only thing that might pose difficulty to some, it the unconventional symbols and stitch abbreviations that has been used in the pattern. But you can get used to this on progressing through. In fact, I would say that this is one of her brilliant ways to convey her design in a precise manner. Otherwise, the instruction would be awfully long, and the charts be chaotic with all those post stitches.

Meadow clutch and coin purse

Overall, the pattern is a brilliant one in all ways, from instructions, detailing and techniques to the construction, support, and the design. This is one those intricate patterns that require your attention throughout the process and therefore quite engaging. Anyone looking for a challenging pattern or looking to widen your crochet skillset, this is for totally you. The time and effort spent into this pattern is totally worth it and I, above all, cherish the making process and the techniques learnt from this pattern.

Do you want a large tote bag? Check out my pattern here

On a side note, Natalia has recently released another masterpiece using the embossed crochet technique -Corfu bag and Pinatano bottle cover. Both finished products form a set. I will be making them soon as well, so keep an eye on my Insta page.

I believe this article would have given you an idea about this wonderful pattern. What to you think about this pattern? Would you give it a try? Please let me know in the comments and kindly follow me on the social media platform to get to know about my projects.

Join my Facebook group Yarn ‘n Me makers for more fun content and interaction.

Visit My Ravelry Store to get the print-friendly versions of all my patterns

Pivoting Peaks Tote – Crochet oversized tote bag pattern for all your needs

Its summertime! Who fancies an oversized crochet tote bag pattern that is the best for all your summer outings: beach or market? Or even for everyday use! A bag that fits all you need and still has a lot of space to accommodate more stuff. Well, the Pivoting Peaks tote is one such design.

The design of the tote

The Pivoting Peaks tote is constructed in one piece, bottom-up, and finished with a wooden D-handle. Honestly, the handle style is up to your taste and liking. The pattern lends itself to utilizing any handle, a ready-to-use tote handle, and a crocheted handle of any length.

The bag has a round base with a pinwheel texture and look. The bottom of the bag alone measures 12’’. Then, the body is constructed in the round with the ‘peaks’ or arrow-like textured pattern. In a sense, the peaks are rotating on the axis of the center of the base. Thus, the name is derived from “Pivoting Peaks Tote.”

The body of the tote measures 10”, excluding the base. Since the bottom of the bag is round, it also adds a flexible height to the bag.

Add this pattern to your Ravelry Library here HERE.

Check out the Granny Square base tote series for free market-tote bag patterns.

crochet oversized tote bag pattern

Pattern Instructions

The pattern contains both written and diagram instructions. A couple of pictorials are also provided for ease of construction. The pattern has a lot of front post stitches and stitches made together. So, the level of the pattern is intermediate according to the Craft Yarn Council.

Pattern Testing

This is my first pattern to be put up on the Ravelry store or, for sale on that matter. I got a fantastic team of testers to test this pattern. I am forever grateful to them. Check out their beautiful projects below, And do check out their profile, they are awesome makers!

Vimala @vimalavignesh

Oty @itsrajutanmama

Bel. L @psalms_ninety1

Nandita Ashok @thequaintweave

crochet oversized tote bag pattern

Pivoting Peaks tote is a statement piece of a crochet tote pattern, that is sure to make heads turn even in beachy conditions. So, grab your copy of the pattern, crochet it and tag me on your pics with the hashtag #yarnnmemakers. I’d love to see your take on this crochet oversized tote bag pattern

Visit My Ravelry Store to get the print-friendly versions of all my patterns

crochet oversized tote bag pattern

My take on Erigeneia in a rectangle

Erigeneia in a rectangle, as the name suggests is a rectangle shawl/scarf/wrap/stole pattern designed by Mrs.Estherke. She designed this pattern taking inspiration from the original Erigeneia shawl, which is a triangle shawl, designed by Silke Terhorst, Maschenzähler Designs. You can find the links for both the patterns below. Both the patterns are free Ravelry download.

Erigeneia in a rectangle

Erigeneia shawl

About the pattern

The pattern is a rectangle one and can be adjusted to any length and width. The original pattern is designed with a sport weight yarn and a 4 mm hook. But the pattern gives room to use yarn of any weight category and a suitable hook size.

Erigeneia in a rectangle pattern contains both written and diagram instructions. Both are truly clear and self-explanatory. It is constructed with a combination of basic shell stitch variants and rows of double crochet. Therefore, I would rate the pattern level as ‘Easy’.

This pattern is started in one corner, set the width, and completed at the other end in the opposite corner. So, there is no worry of counting the starting chains. A certain number of rows is repeated back and forth diagonally to until desired length is achieved.

The Erigenia in a rectangle made with Scheepjes whirl

My take on the pattern

For this pattern, I used one Scheepjes whirl in the colourway 773 Blackcurrant Squeeze Me. It is a fingering weight yarn with a yardage of 1000 metres per cake of 215 grams. I used a 3 mm Clover Amour crochet hook.

I followed the pattern to the width of a stole and continued to the length till the yarn permitted me to. After blocking, I ended with a scarf of 16’’ wide and 72’’ long, decent enough for a light wrap around my shoulders as well. It serves as a good summer scarf and a wrap to keep me warm enough in the air-conditioned public transport.  

What I like about this pattern

• It is a rectangle shawl that is designed in an unconventional way. For those looking for a simple yet a project with different constructed method, this is the one for you! 

• There is no fuzz of starting chains. So, no counting involved.

• It is an easy pattern but not too simple. Meaning, it takes quite some time to understand the construction but easy to proceed after a certain number of rows and once you get hang of it. Once you get hang of it you are good to do other activities while doing the project

The stitches used are amazingly simple like shell stitches. 

• The PDF of the pattern has diagrams and pictures to guide you through.

• The pattern has many repeats and is quite therapeutic to do. Check out my post on the benefits of crocheting 

The Erigenia in a rectangle made with Scheepjes whirl
I believe that this blog post might have been of use to you. Follow me on these platforms for more updates on my pattern designs and wips. Take care!

Join my Facebook group Yarn ‘n Me makers for more fun content and interaction.

Visit My Ravelry Store to get the print-friendly versions of all my patterns

An ultimate list of crochet tools and accessories every crocheter owns and what you need

Crochet is a craft that involves a wide variety of tools and accessories. Whether you are a newbie or a pro in the artform, a few of these accessories alone, in the entire list can overwhelm you with its wide design, types and varieties, let alone the entire list. If you have just picked up crochet or have been crocheting for a while now, this feeling can be extraordinarily strong. This article gives you an extensive details on all the tools to crochet and what you will need at every stage.

If you are brand new to crocheting, you might want to check the benefits of crocheting before get into it full-fledged.

In this post, I will guide you through a list of almost all of the crochet accessories, what you will need, where you can save, where you can explore and splurge and all those sorts of stuff. I share in here all my experiences of crochet accessories. This article is to help predominantly the novices and advanced beginners through their crochet journey. Experts might find it kind of vague but stick around to see if you can take away something.

Disclaimer: This post is entirely based on my experience and preferences and some of the opinions given here might differ from person to person. Use this post and a guide or starting point and decide what is good and works for you.

1. Yarn

Well, it is pretty obvious that crochet is a fibre art and you will need yarn to pursue this hobby. Out there, when you go for yarn shopping, be it to start taking up crochet or for one of your first projects, the choices you will be put up to is overwhelming. You might even be tempted by those colourful, lustrous, and textured yarns that you end up buying the wrong type for what you had intended. There are wide varieties of yarn based on their material, weight, texture, and colour.

When you are just getting into crochet, an 8-ply/dk weight yarn or 12ply/worsted weight yarn in solid colour preferably a decent quality acrylic is highly recommended. When you are looking out for yarns for one of your first projects, select your yarn based on the following criteria

  1. What is the project you intend to make? A scarf, a blanket, décor piece, etc.,
  2. Which weather it going to be used? For instance, we wouldn’t want to wear a scarf made from wool in Singapore’s humidity.
  3. What is the final product intended to use? Is it going to be a baby product that requires frequent washing, a dainty scarf or in the kitchen?

The choice of yarn – material, texture, weight, and colour, depends majorly on these three questions as various yarns are meant to different usages. So, we ought to choose our yarn according to our projects.

2. Crochet Hooks

Like yarns, crochet hooks also come in endless options from economic to high-end ones. It is the most important tool to crochet. But it is different from yarns in a way that, it is a constant while yarns are variables from project to project. It can be put in this way, it is the magic wand of every crocheter, if I am not exaggerating. So, choosing the right kind of crochet hook is of vital importance. It is an investment, trust me. Good quality crochet hooks can prevent several complications. So, choose wisely.

There are several types from budget friendly basic aluminium hooks from brands like Boye and Susan Bates, to mid-range ergonomic hooks from brands like Tulip and Clover, all the way to high-end handcrafted hooks from brands like Furls. They usually come in an entire set and you are quite saving some cash when you get them as a set.

Crochet hook for beginner

While you are just starting out only one crochet hook in one size, preferably 5mm or 6mm basic aluminium, based on the weight of the yarn, would suffice. Once you get hang of the stitches and are ready to make an investment in your hobby, start by trying one hook at a time. See how your hold is, ease of crocheting, etc., If you are not sure, just a single hook from a couple more designs and see. It is totally okay to take your time and make decision unless you like to hoard and collect crochet hooks.

Crochet hook for consistent crocheters

If you intend to crochet consistently for long hours, ergonomic hooks are highly preferable, Clover has two kinds of ergonomic hooks. I love their Amore series and own two sets one in each of their steel hooks (small sized hooks below 2mm) and their aluminium hooks (2mm to 6mm). It is the perfect hook for my pencil-hold style. Tulip has a good set of ergonomic hooks; I feel it more suited to people to do not tend to rotate and slide their hooks while crocheting. I’m eyeing on the Furls streamline crochet hooks now and hoping to get my hands on them soon.

So, these two things are of utmost importance, and you cannot crochet without one or the other. The other items are truly accessories that sort of make your life easier, not that you need all of them. Each of them has a purpose and the decision rests in you if you need them or not.

3. Scissors

Well, its kind of obvious isn’t it? You will have to snip of the yarn at the end to finish the project, for which you need a pair of scissors. There are so many fancy scissors in the market from basic craft scissors to beautiful unicorn themed ones. Choose one that is sharp, rather embroidery scissors, and handy to use, so that you will have smooth snipping of yarn. Handy and sharp scissors also come handy while trimming tassels and pompoms.

On a side note, if you like to carry your projects on board, a pendant shaped yarn snipper from Clover might come handy. It is a brilliant item, that you could wear it as pendant on its own. Once, I had a bitter experience of sacrificing my beautiful unicorn themed scissors at the immigration check. I had carried it accidentally in my purse.

4. Stitch markers

This is one accessory that is meant to be used for one purpose, to mark stitches as the name suggests, but can be used for a couple more purposes.

It can be used in the working loop of yarn when you leave your project aside midway. This prevents the unraveling of stitches.

It also comes in handy when you must count many foundation chains or stitches. You can mark the stitches at every small number of stitches, say every ten stitches, and it will make it easy for you to keep track of the total number of stitches.

There are predominantly two types of stitch markers used in crochet projects- split ring type, that slides into your stitches and locking type that is literally like safety pin mechanism. I personally prefer a ring-like stitch marker from ‘Boye’ that can be literally used like a both – split ring and locking stitch markers.

All that being said, you can get creative with your stitch markers. Small everyday items like safety pins, paper clips, bobby pins, etc., can also be used as stitch markers.

5. Yarn Needle

Yarn needle is a blunt tip needle that is used to sew together crochet pieces or weave in the ends of your project. It is also referred to as tapestry needle or darning needle. It comes predominantly in three materials: plastic, aluminium, and steel and in different sizes. We ought to use one according to the yarn weight.

For beginners, you can start with plastic needles. Later you can get something in pack of three sizes that can be used from lace yarns to worsted weight yarns. There is one other type of yarn needle that has a flexible eye. This can be used for yarn weights from dk all the to bulky weights. I settled down with a set of steel needles and a pair of aluminium needles, both from Clover, as I predominantly use yarns up to worsted weight and rarely heavier.

6. Measuring tape

Measuring tape helps when you will have to measure up your project to a specific dimension, like scarf, wearables, and home décor pieces like cushion case. This is required when you start making big projects, for advanced beginners perhaps. It is up-to one’s taste and preferences to keep this basic to the plain old folding tape measure or fancy up to retractable ones with designs. I still use the former, but the latter is handier and more convenient.

7. Notebook and Pen

While crocheting, you might want to note down something – stuff like patterns, stitches, etc., It is also a good idea to keep track of all the projects you do, with emphasis on the yarn and hook size used. Even some beginners, if not all, might need a notebook. I literally taught someone to crochet who took notes on the basic stitches. (Appreciate her enthusiasm and involvement).

To keep track of your inventories and projects, there are several crochet journals. But for me, I find a simple blank notebook sufficient to take notes on my designs. In fact, I find using a pencil more comfortable than a pen as I scribble down notes. So, decide on the what kind of notebook is exciting for you.

8. Blocking mats and pins

Blocking, on itself is a separate topic to discuss. In a nutshell, it is setting your crochet works in place to keep its shape and intended size. You will require blocking mats and pins to keep your work in place. To block your project, you will have to spread your finished work on to the board wet/dry, pin it down in shape using the blocking pins and we then lightly by spraying water if pinned dry.

Honestly, I do not own any ‘blocking boards and blocking pins.’ But I do have kids play mats and some notice board pins that gets the job done for me satisfactorily. And guess what, all these materials were purchased from Daiso Japan, Singapore, which is like the Dollar Tree. Just make sure that sure pins are rust-proof. But I would soon make an investment on the blocking pins from KnitPro.

9. Tassel and Pompom maker

There are tiny tools to make tassels and pompoms. Investing on these tools is not necessary as a beginner. When you amp up your crochet game you can consider based on your project preferences

10. Gauge tools

There are various designs of gauge tools to check both your hook gauge and swatch gauge. Honestly, I never found the need of either of them because

  • I check my swatch gauge using measuring tape
  • I never felt the need for hook gauge as all the hook sizes are engraved in respective hooks

11. Row counter

A tiny tool to keep track of the number of rows you are working. I own a basic one but never got to use it. We could as well get away with stitch markers for the purpose

12. Yarn winder

As the name suggests, yarn winder is used to wind yarns. It comes to use if you have a lot of yarn leftovers to organize or you use a lot of yarns in hanks. I would highly recommend you invest in a good quality one, if you are investing. Because, I bought a cheaper one online and it wasn’t doing its job from day one. I still do not own one as I wind my leftover yarns into balls. But I might invest on one as I am planning to use hanks in the future.

13. Yarn bowl

Yarn bowl is a small bowl with an indent on a side where you keep your yarn ball or cake while crocheting. This is purely a décor piece I feel as you can get the job done with regular bowls or small baskets.

14. Project bag

Project bag is a specialized bag that is designed to keep all your crochet materials making it easy to carry it from one place to another. It has compartments to keep your hook, other accessories, and yarns. It is exclusively designed for this purpose. It comes to use when you travel and camp quite a lot and usually for larger projects.

15. My other accessories and tools to crochet (unexpected ones)

Alright guys! I have a confession to make here. I have two other things in my vanity that I use quite regularly while I crochet, and you might find it useful as well. It is sort of my tip to you. Those two things are a lighter and adhesive sports for fingers.

I crochet quite a lot of bags and purses using polyester yarn meant solely for bags. It is a sort of slippery and unwind and slip away on cutting and weaving in the ends. So, it is a good idea to use a lighter to keep the strands from unravelling and intact after weaving in.

When crocheting for a long time, some yarns tend to make an indent while sliding on your finger. To prevent that I use adhesive sports take on my finger and voila, no more pain.

So, my friends, this is my list of crochet accessories and my take on its requirements. And now, just contemplate on the list and prioritize your needs. At the end of the day, we all must crochet for the sheer joy of it. Do not let this list overwhelm you to take away the fun. Just remember, crochet and the flanking fun comes first. Happy crocheting!!!

Join my Facebook group Yarn ‘n Me makers for more fun content and interaction.

Visit My Ravelry Store to get the print-friendly versions of all my patterns